部署 Elastic SIEM
本文章介绍 Elastic SIEM 平台部署与使用
本文基于 Ubuntu Server 24.04.3 进行部署,性能为 4h4g
randark@elastic-server:~$ lsb_release -a
No LSB modules are available.
Distributor ID: Ubuntu
Description:    Ubuntu 24.04.3 LTS
Release:        24.04
Codename:       noble
randark@elastic-server:~$ ifconfig
ens33: flags=4163<UP,BROADCAST,RUNNING,MULTICAST>  mtu 1500
        inet 192.168.200.200  netmask 255.255.255.0  broadcast 192.168.200.255
        inet6 fe80::20c:29ff:fee5:696e  prefixlen 64  scopeid 0x20<link>
        ether 00:0c:29:e5:69:6e  txqueuelen 1000  (Ethernet)
        RX packets 956  bytes 615902 (615.9 KB)
        RX errors 0  dropped 0  overruns 0  frame 0
        TX packets 517  bytes 106942 (106.9 KB)
        TX errors 0  dropped 0 overruns 0  carrier 0  collisions 0

lo: flags=73<UP,LOOPBACK,RUNNING>  mtu 65536
        inet 127.0.0.1  netmask 255.0.0.0
        inet6 ::1  prefixlen 128  scopeid 0x10<host>
        loop  txqueuelen 1000  (Local Loopback)
        RX packets 106  bytes 9093 (9.0 KB)
        RX errors 0  dropped 0  overruns 0  frame 0
        TX packets 106  bytes 9093 (9.0 KB)
        TX errors 0  dropped 0 overruns 0  carrier 0  collisions 0
安装 Elasticsearch
使用 apt 进行安装,首先是导入 Elastic 的 PGP 公钥
wget -qO - https://artifacts.elastic.co/GPG-KEY-elasticsearch | sudo gpg --dearmor -o /usr/share/keyrings/elasticsearch-keyring.gpg
然后安装 Elasticsearch APT 储存库
sudo apt-get install apt-transport-https
echo "deb [signed-by=/usr/share/keyrings/elasticsearch-keyring.gpg] https://artifacts.elastic.co/packages/9.x/apt stable main" | sudo tee /etc/apt/sources.list.d/elastic-9.x.list
随后执行安装
sudo apt-get update && sudo apt-get install elasticsearch
安装成功之后,应该能够看到以下提示
--------------------------- Security autoconfiguration information ------------------------------

Authentication and authorization are enabled.
TLS for the transport and HTTP layers is enabled and configured.

The generated password for the elastic built-in superuser is : BPhrFCKVYI19oksc1igb

If this node should join an existing cluster, you can reconfigure this with
'/usr/share/elasticsearch/bin/elasticsearch-reconfigure-node --enrollment-token <token-here>'
after creating an enrollment token on your existing cluster.

You can complete the following actions at any time:

Reset the password of the elastic built-in superuser with
'/usr/share/elasticsearch/bin/elasticsearch-reset-password -u elastic'.

Generate an enrollment token for Kibana instances with
 '/usr/share/elasticsearch/bin/elasticsearch-create-enrollment-token -s kibana'.

Generate an enrollment token for Elasticsearch nodes with
'/usr/share/elasticsearch/bin/elasticsearch-create-enrollment-token -s node'.

-------------------------------------------------------------------------------------------------
### NOT starting on installation, please execute the following statements to configure elasticsearch service to start automatically using systemd
 sudo systemctl daemon-reload
 sudo systemctl enable elasticsearch.service
### You can start elasticsearch service by executing
 sudo systemctl start elasticsearch.service
需要妥善保存以上信息,尤其是默认的 elastic 超级用户的密码
本文章配置的是测试用的单机节点,所以不需要进一步修改,但是如果需要部署多节点集群的话,需要按照 Install Elasticsearch with a Debian package | Elastic Docs - Step 3: Set up the node for connectivity 中的说明,修改对应参数
启动 Elasticsearch 服务
sudo systemctl daemon-reload
sudo systemctl enable elasticsearch.service
sudo systemctl start elasticsearch.service
当服务启动完毕之后,测试服务
curl -k -u elastic:BPhrFCKVYI19oksc1igb https://localhost:9200/
这里使用的密码,就是安装之后,在提示信息中显示的初始密码
没有问题的话,应当能够看到
{
    "name" : "elastic-server",
    "cluster_name" : "elasticsearch",
    "cluster_uuid" : "MxT9jeipSSe_vc1EPQq2yg",
    "version" : {
        "number" : "9.1.5",
        "build_flavor" : "default",
        "build_type" : "deb",
        "build_hash" : "90ee222e7e0136dd8ddbb34015538f3a00c129b7",
        "build_date" : "2025-10-02T22:07:12.966975992Z",
        "build_snapshot" : false,
        "lucene_version" : "10.2.2",
        "minimum_wire_compatibility_version" : "8.19.0",
        "minimum_index_compatibility_version" : "8.0.0"
    },
    "tagline" : "You Know, for Search"
}
安装 Kibana
执行
sudo apt-get update && sudo apt-get install kibana
为了让外部网络可以访问 Kibana 需要更改 /etc/kibana/kibana.yml 文件,在其中编辑
server.host: 0.0.0.0
由于是单机测试集群,可以直接启动 Kibana
sudo systemctl daemon-reload
sudo systemctl enable kibana.service
sudo systemctl start kibana.service
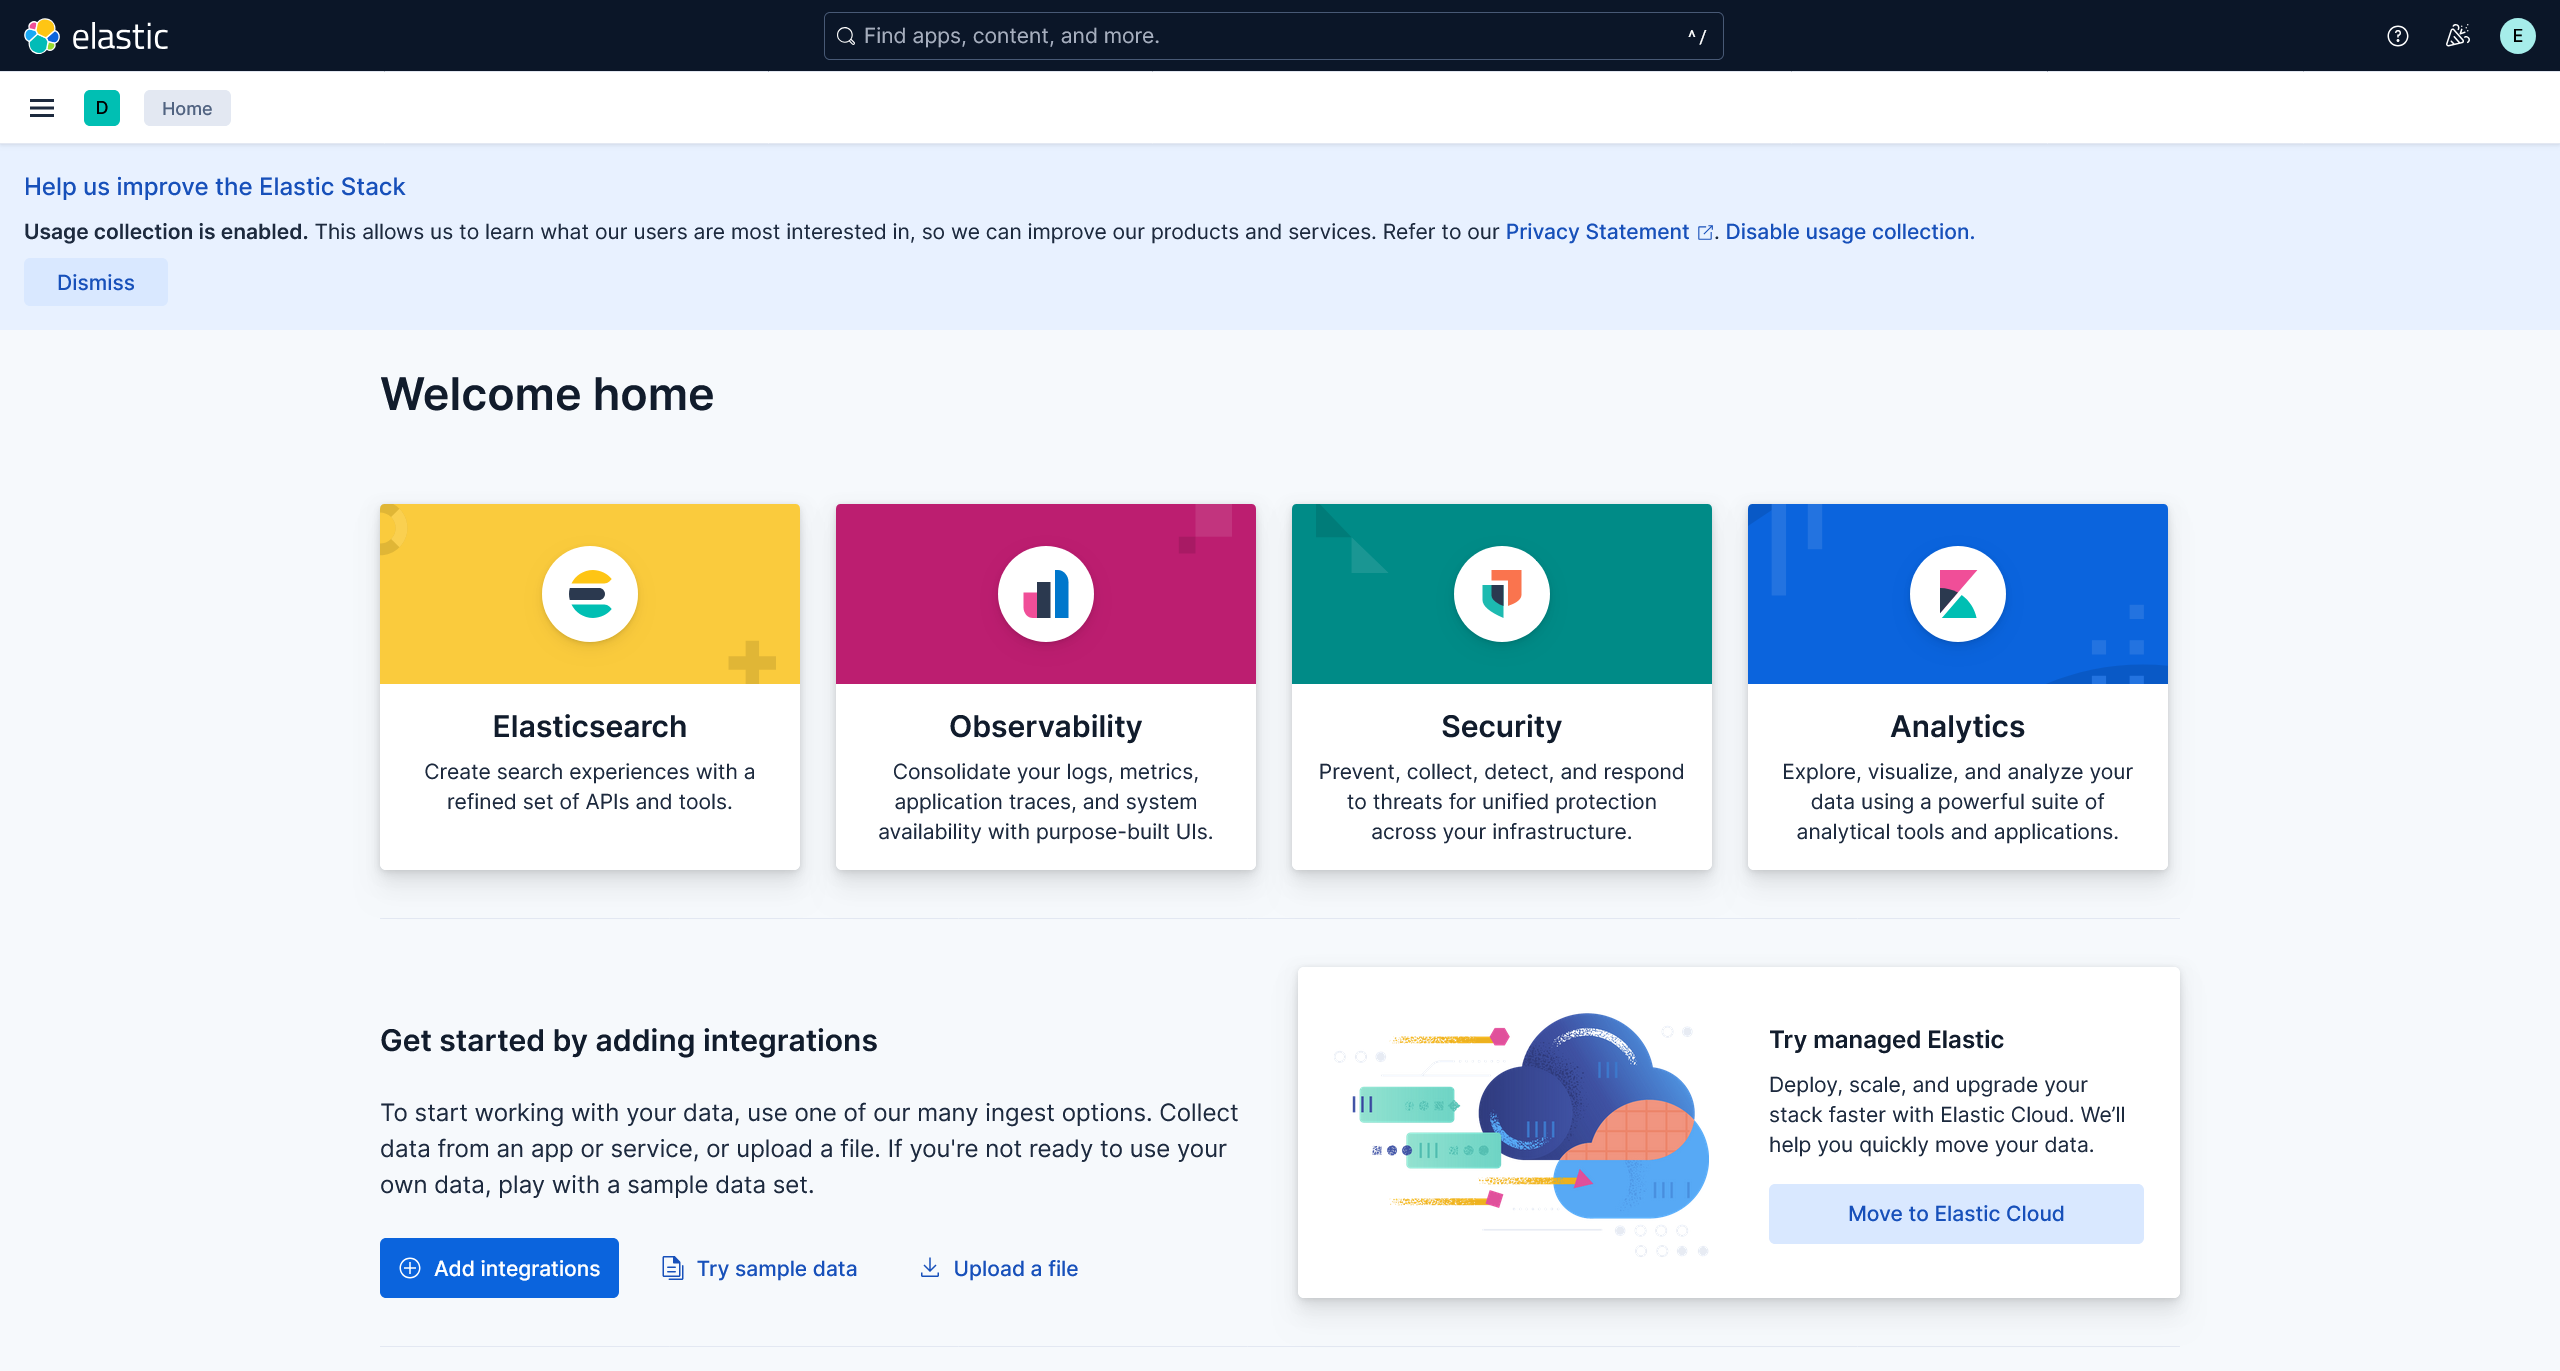
稍等片刻,访问 http://192.168.200.200:5601/ 应当能够看到
连接 Kibana 与 Elasticsearch
看到 Kibana 初始化界面之后,根据引导,执行
sudo /usr/share/elasticsearch/bin/elasticsearch-create-enrollment-token --scope kibana
服务没有问题的话,应当能够看到类似
randark@elastic-server:~$ sudo /usr/share/elasticsearch/bin/elasticsearch-create-enrollment-token --scope kibana
eyJ2ZXIiOiI4LjE0LjAiLCJhZHIiOlsiMTkyLjE2OC4yMDAuMjAwOjkyMDAiXSwiZmdyIjoiZmE0NWZkNWU0OTg1MzY1MjkzYjU1Yjc2MWViZDkzYjZjM2M3NDYzMTEyMzE0NDFiMjc0NzY4ZmI0MWRmMmY3NyIsImtleSI6Ikw3NE5ESm9COWU5b1EtRWJPRkZnOi1QOWNLT2hVZ2diTWZvdTcwQVZxcWcifQ==
将获得的 token 输入,应当能够看到
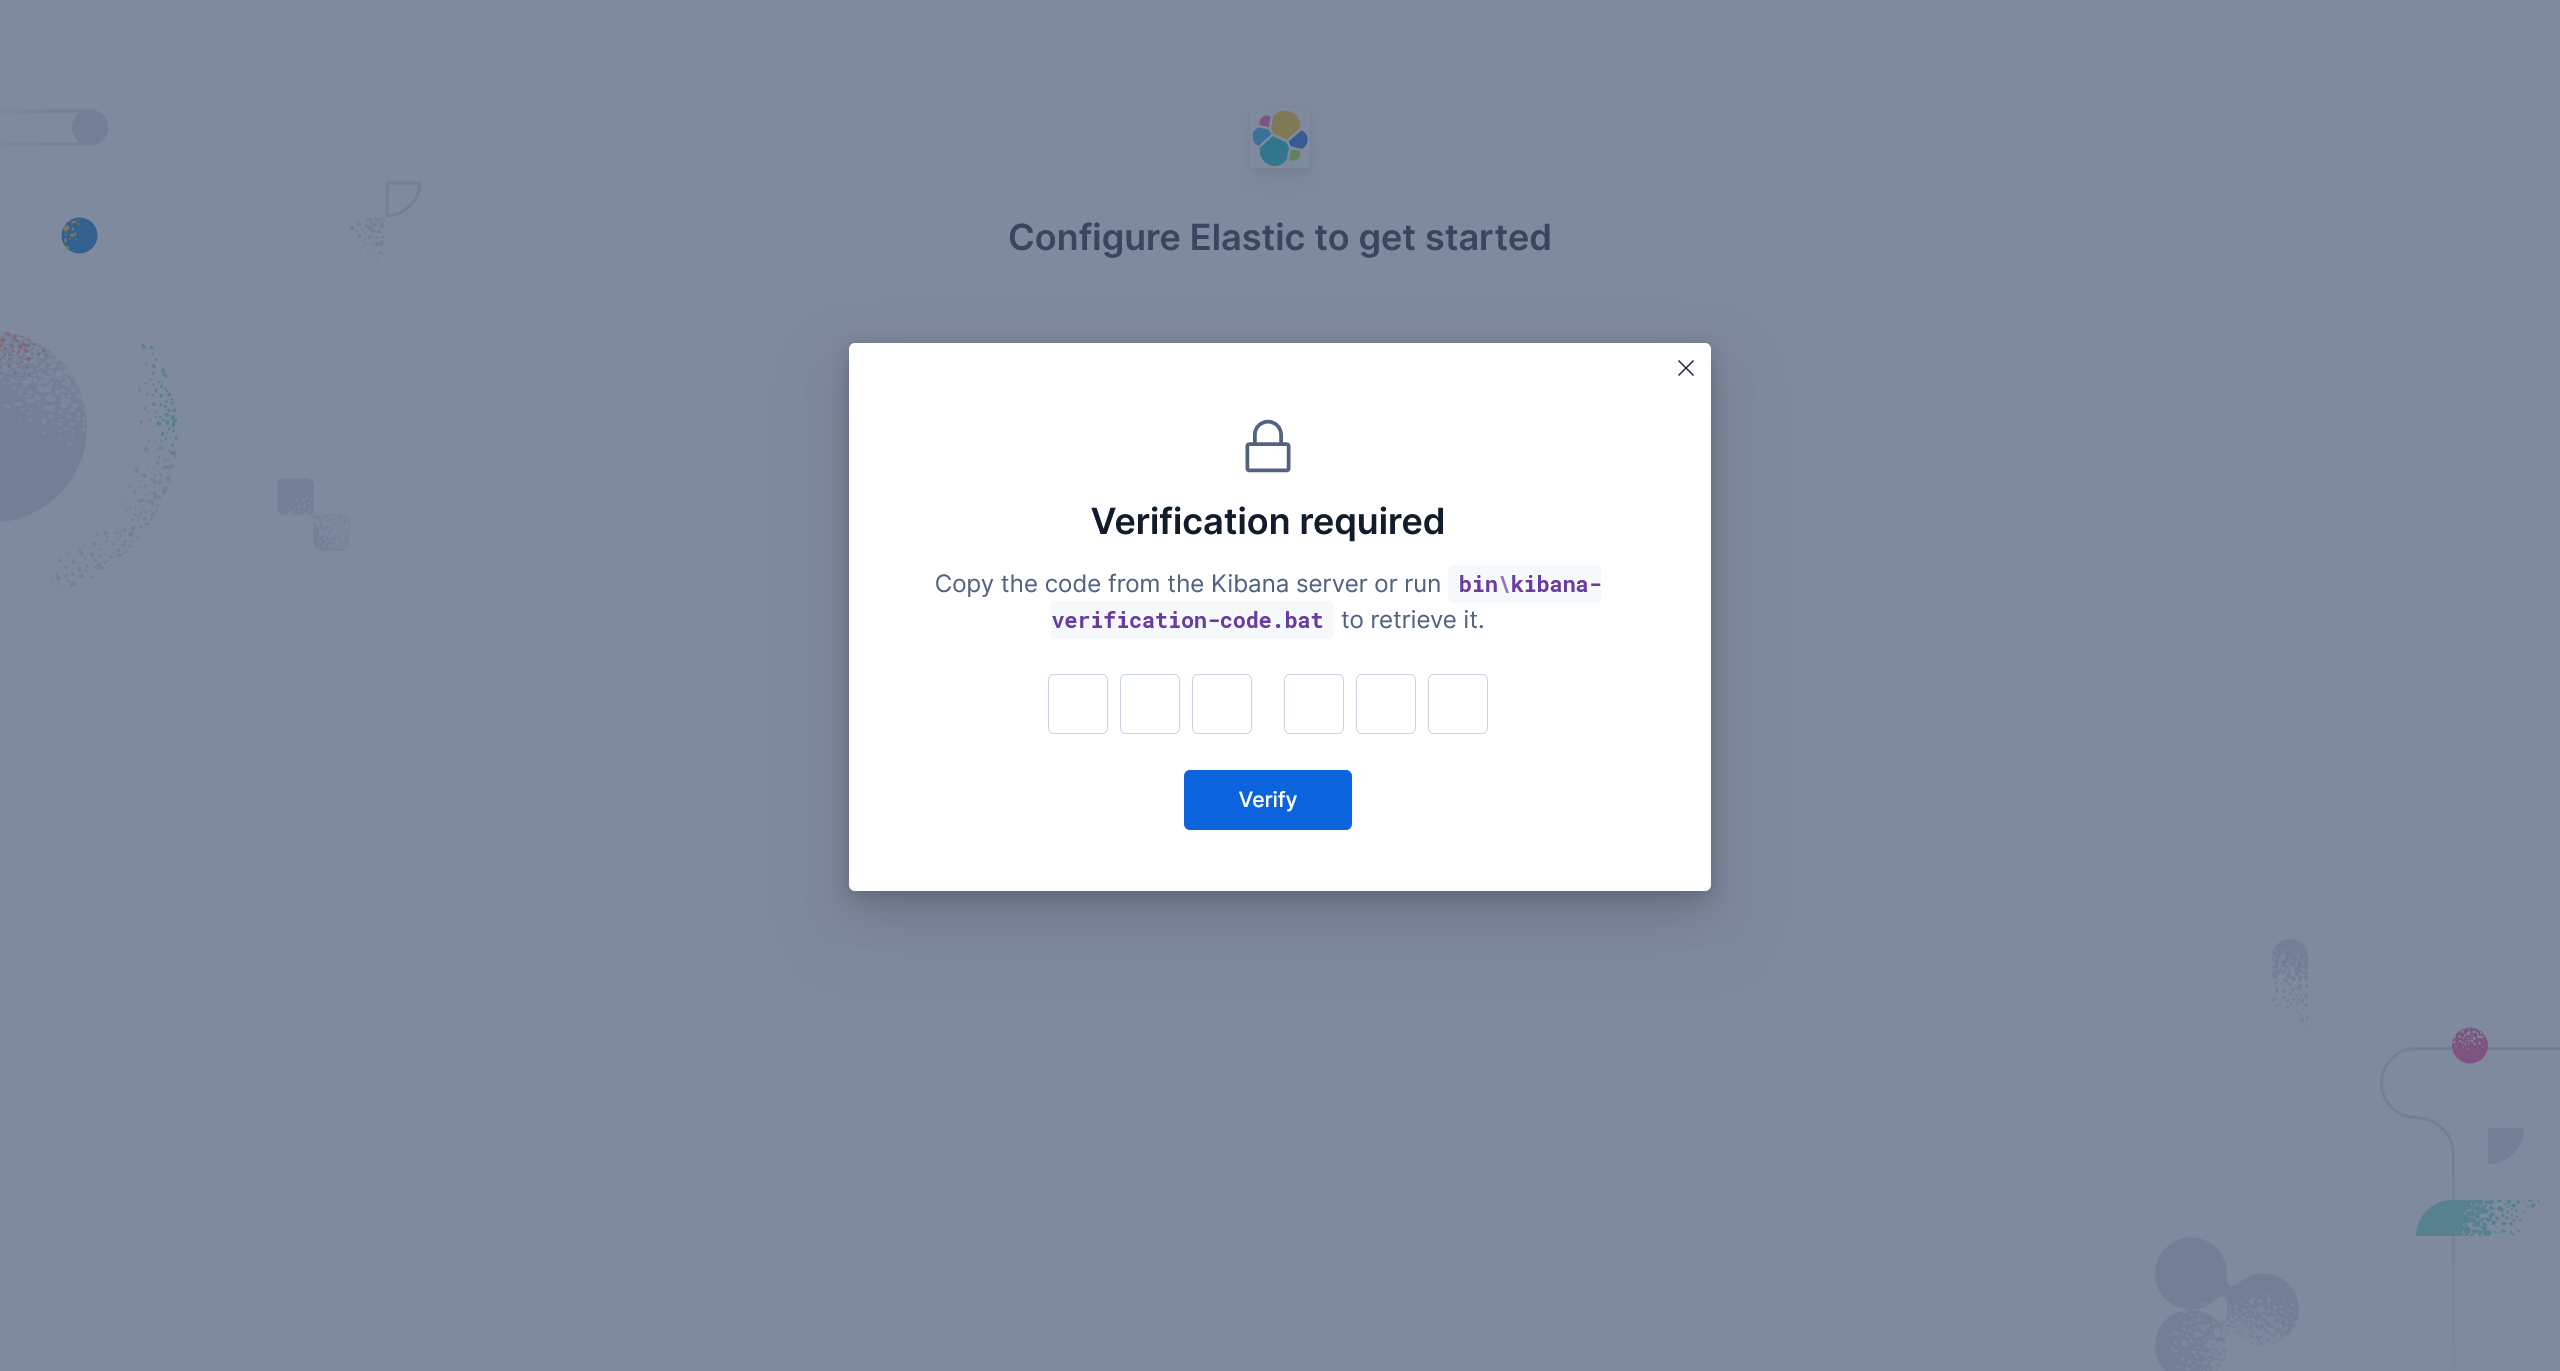
执行 sudo /usr/share/kibana/bin/kibana-verification-code 就能得到验证码
输入之后,即可进入自动配置阶段
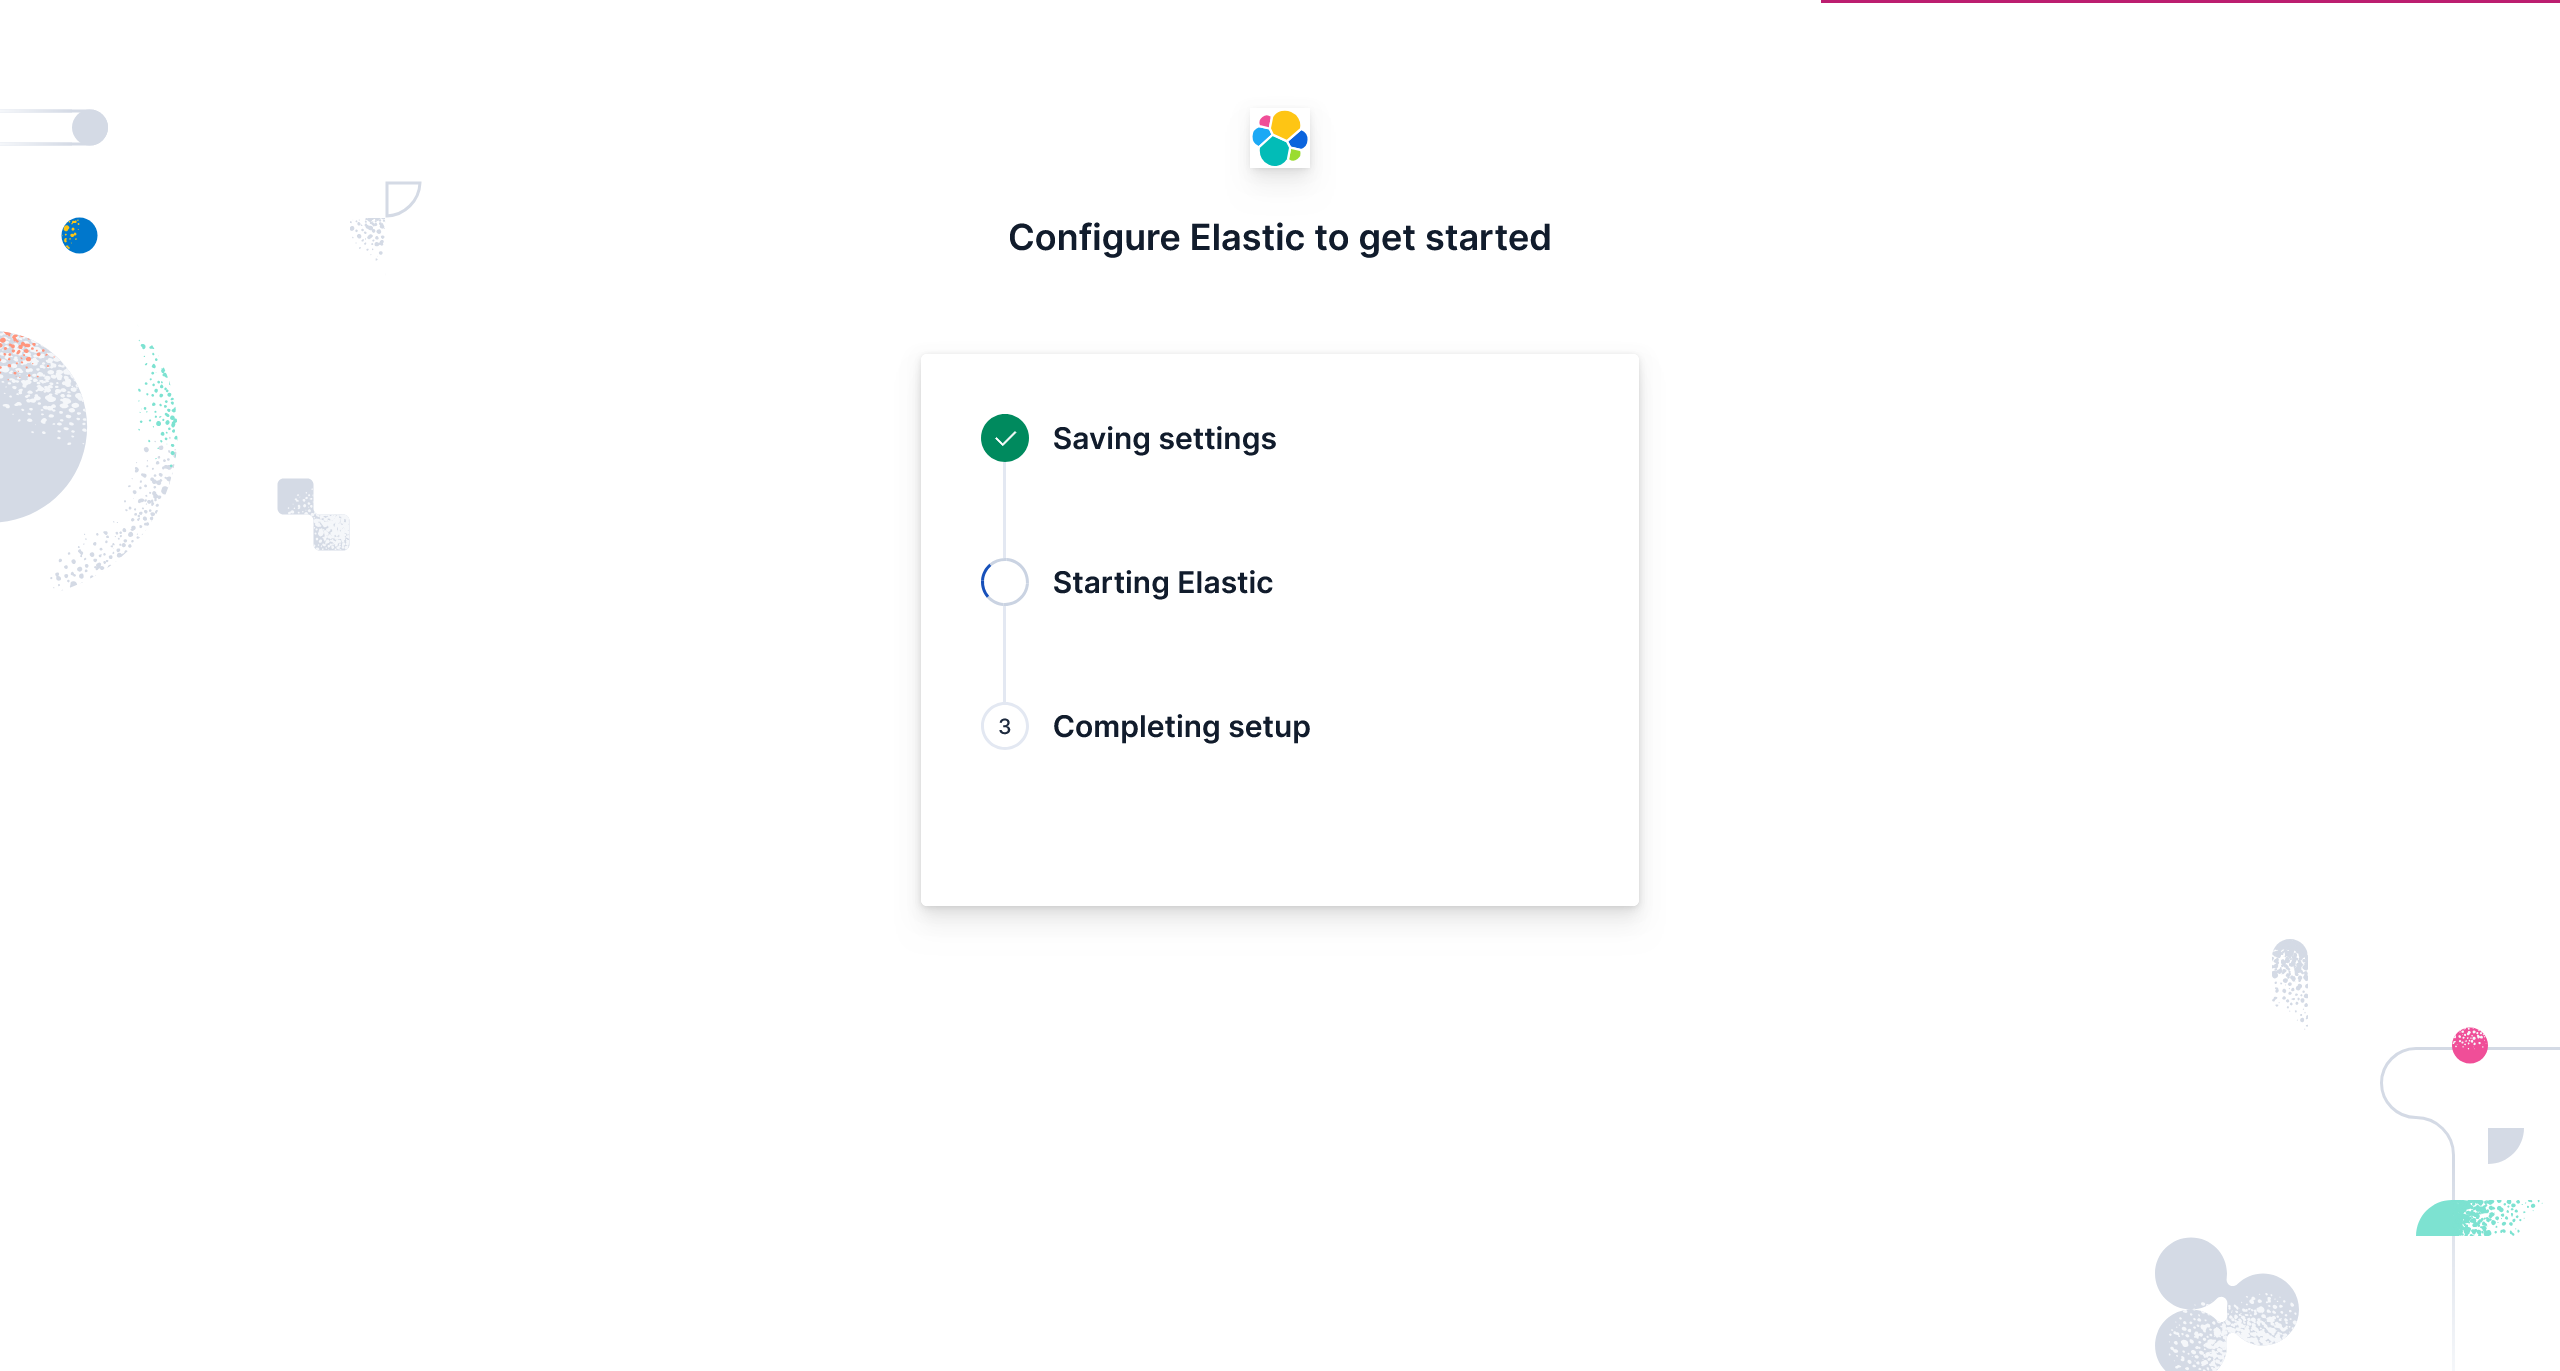
待自动化配置成功之后,即可看到
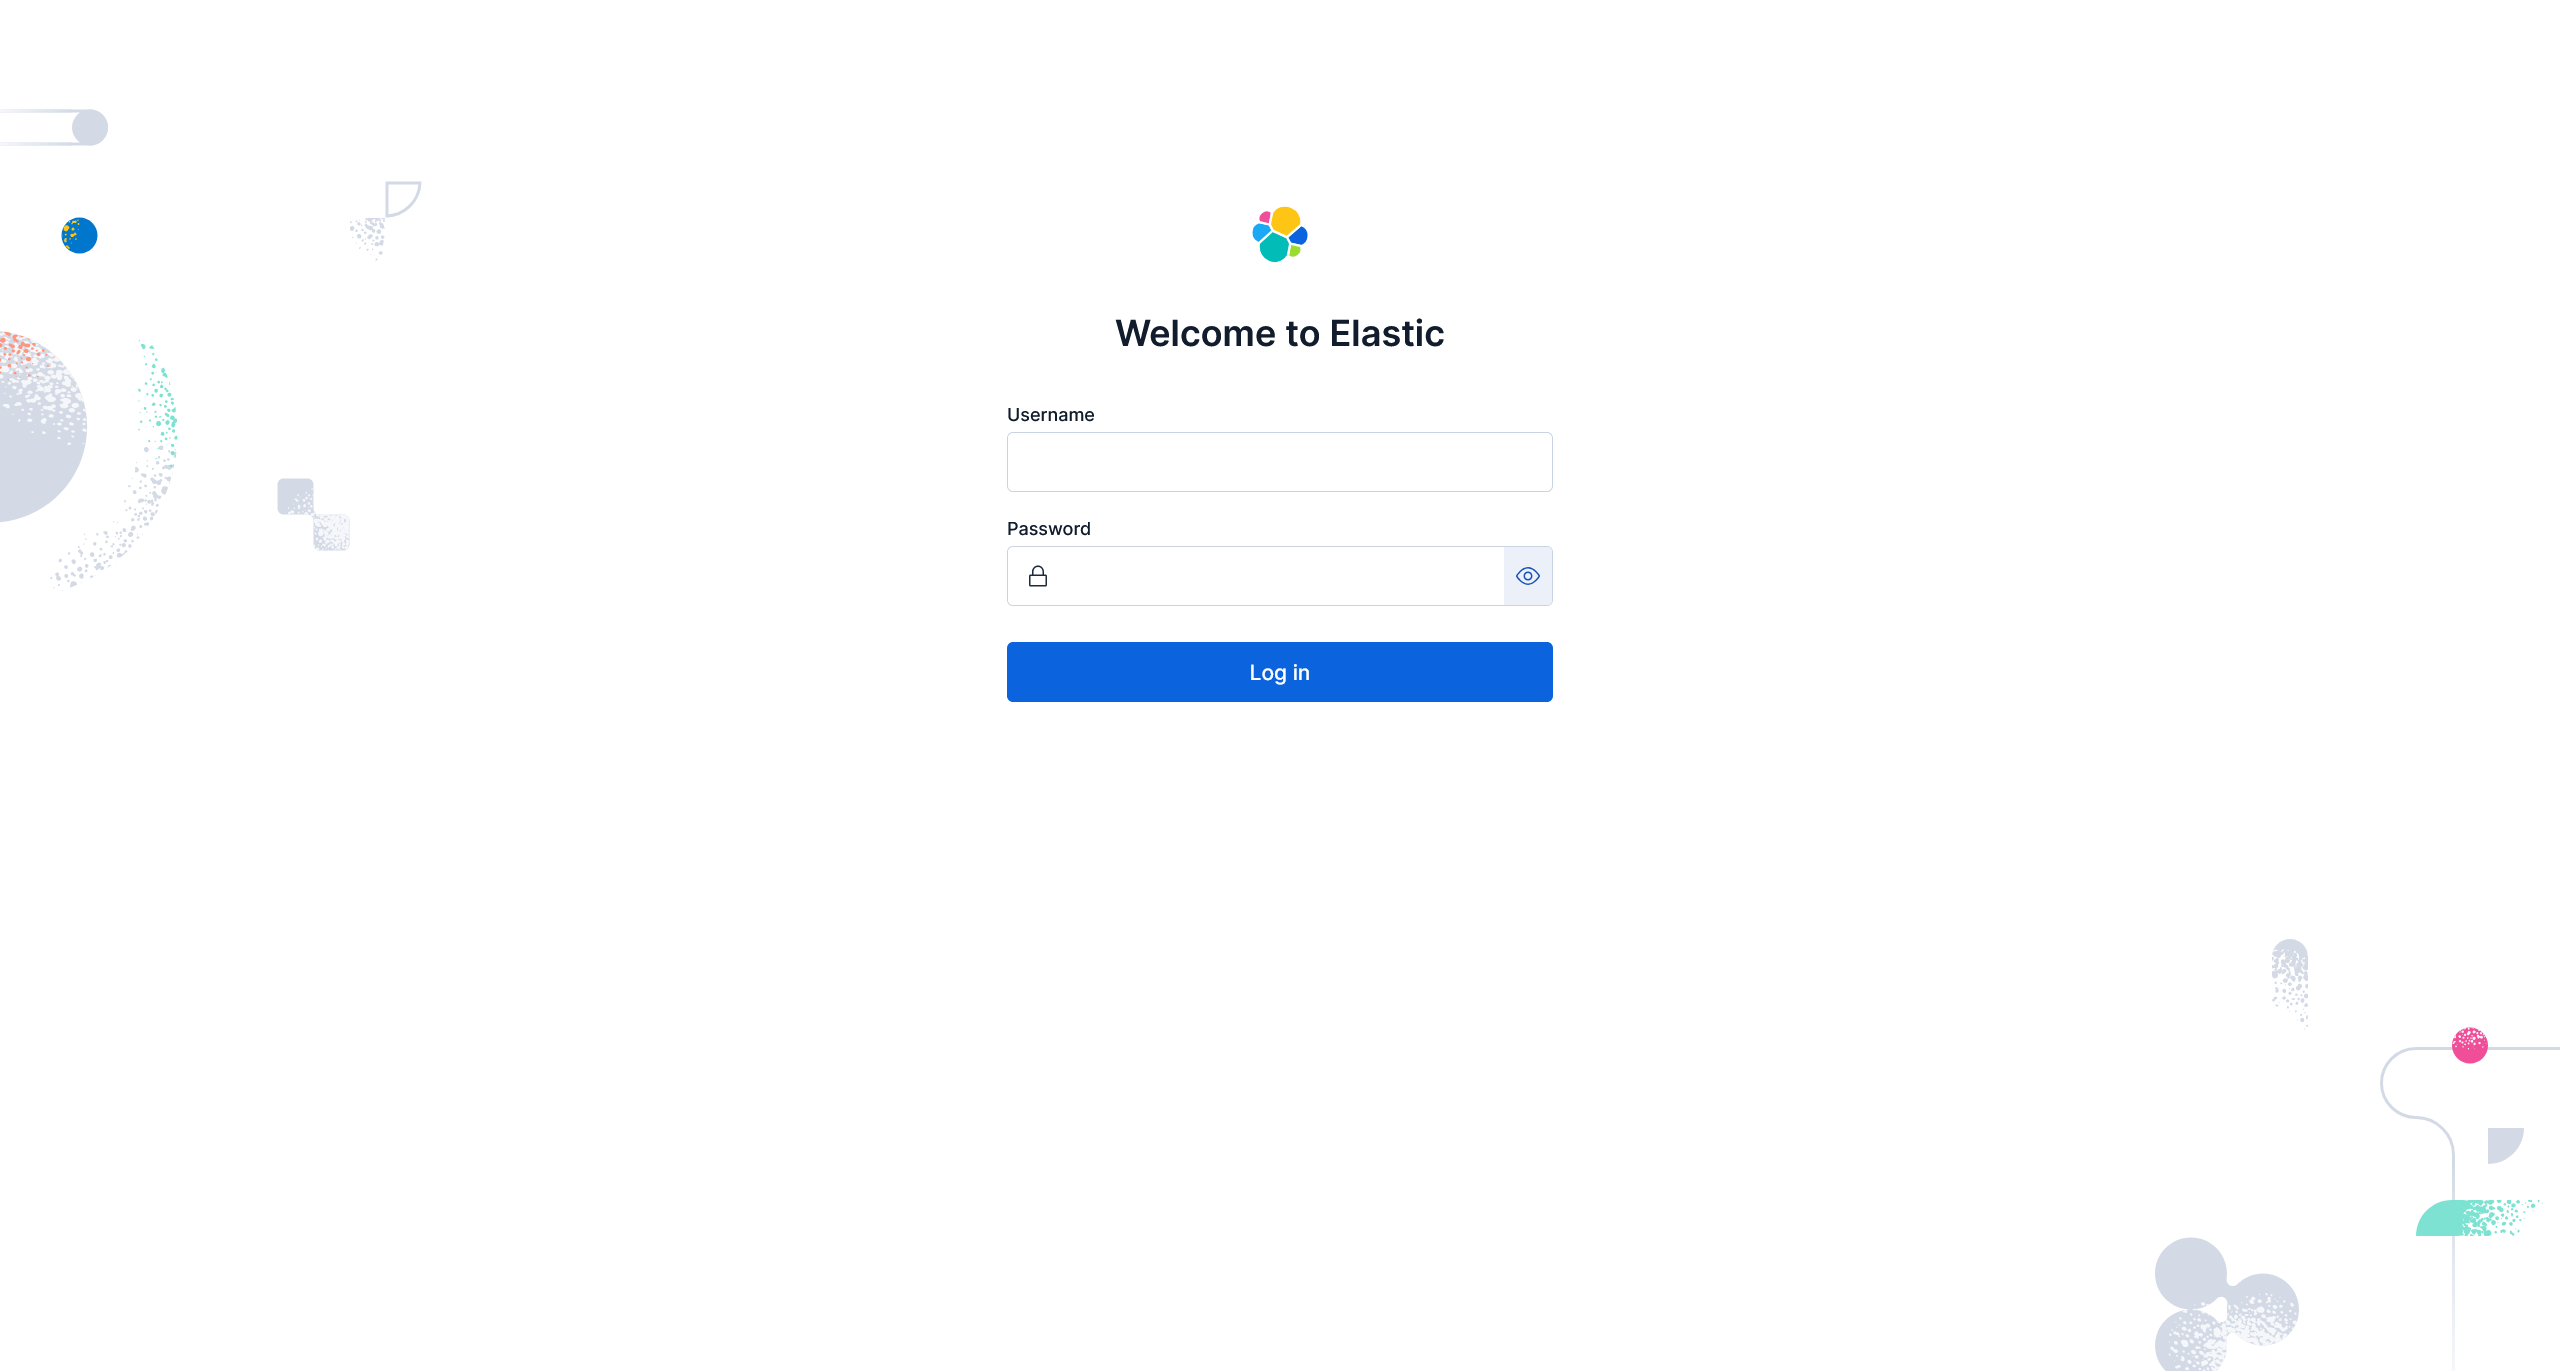
输入先前使用的 Elastic 超级用户的凭据,即可访问 Kibana

破解 Elasticsearch
使用项目 Qwermit/ELKrack: Elasticsearch crack 7.X-9.X
执行
git clone https://github.com/Qwermit/ELKrack
cd ELKrack/
chmod +x build_crack_jar.sh
然后根据对应的版本号,设置环境变量后执行 build_crack_jar.sh 文件
# 查看版本信息
curl -fsSL -k -u elastic:BPhrFCKVYI19oksc1igb https://localhost:9200/ | grep number
# 设定版本环境变量
export VERSION=9.1.5
# 停止服务
sudo systemctl stop elasticsearch.service
sudo systemctl stop kibana.service
# 执行
./build_crack_jar.sh
执行完毕后,复制 patch 之后的文件
sudo cp /usr/share/elasticsearch/modules/x-pack-core/x-pack-core-9.1.5.jar /usr/share/elasticsearch/modules/x-pack-core/x-pack-core-9.1.5.jar.bak
sudo cp ./output/x-pack-core-9.1.5.crack.jar /usr/share/elasticsearch/modules/x-pack-core/x-pack-core-9.1.5.jar
重启服务
sudo systemctl restart elasticsearch.service
sudo systemctl restart kibana.service
继续访问 http://192.168.200.200:5601/ 应当能够看到
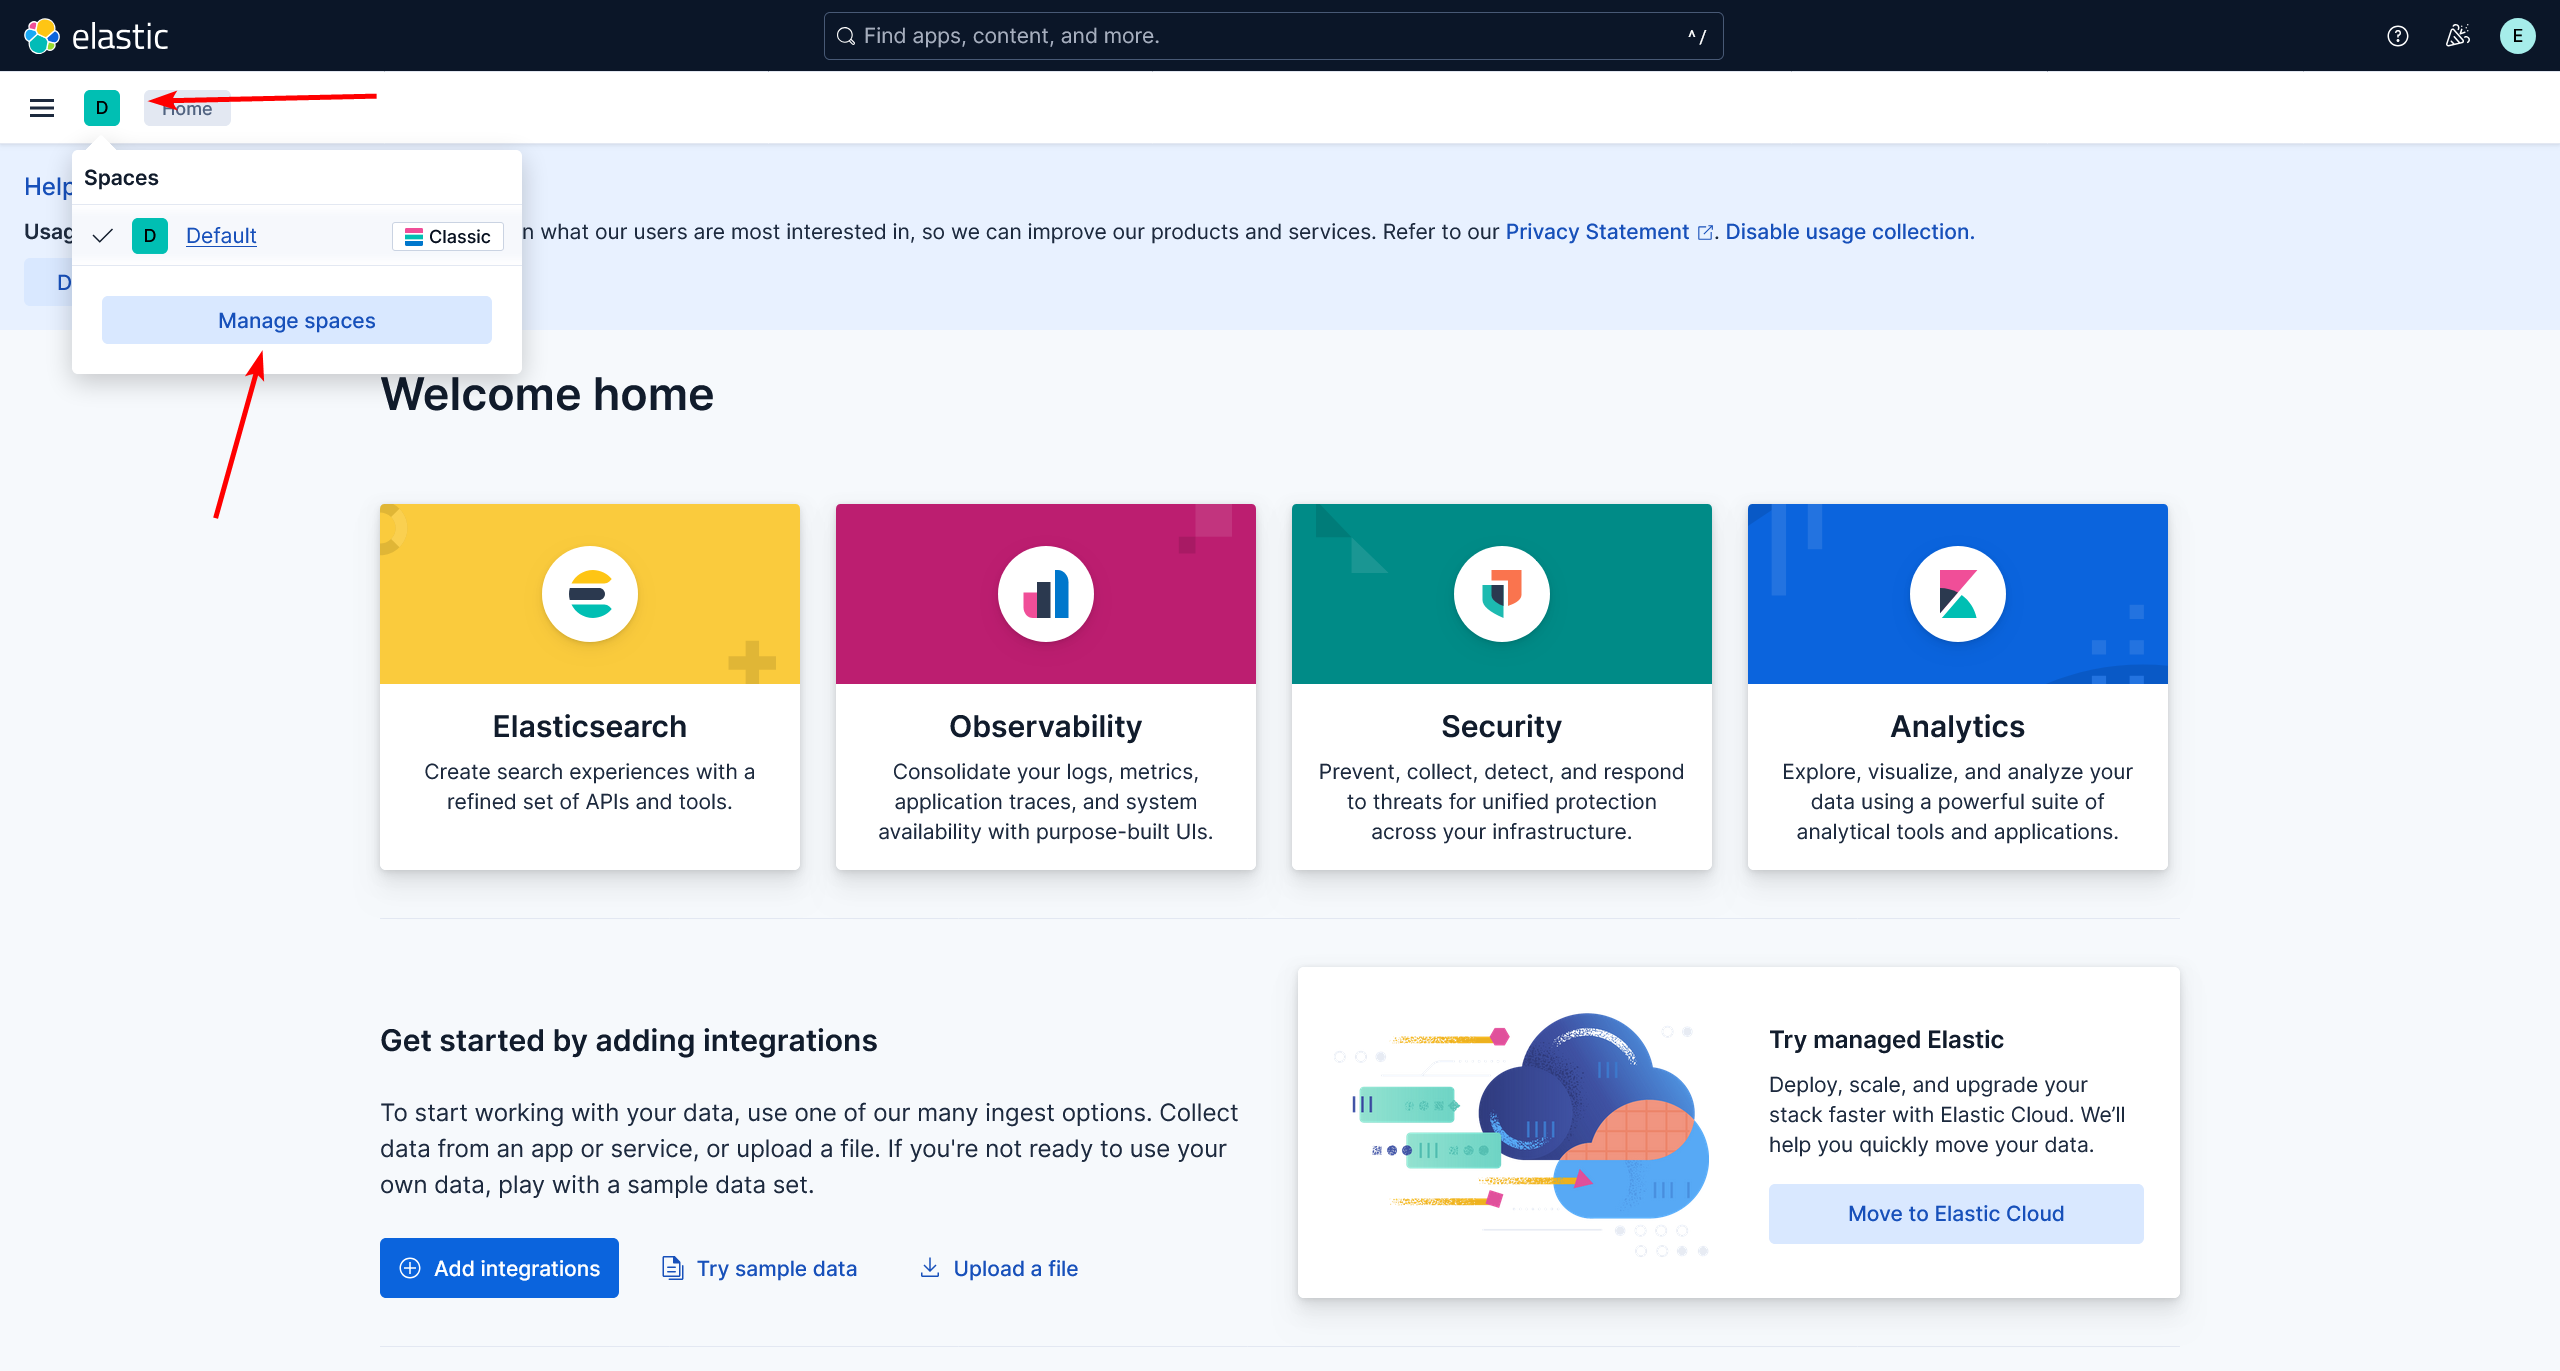
左上角,进入 space 设置
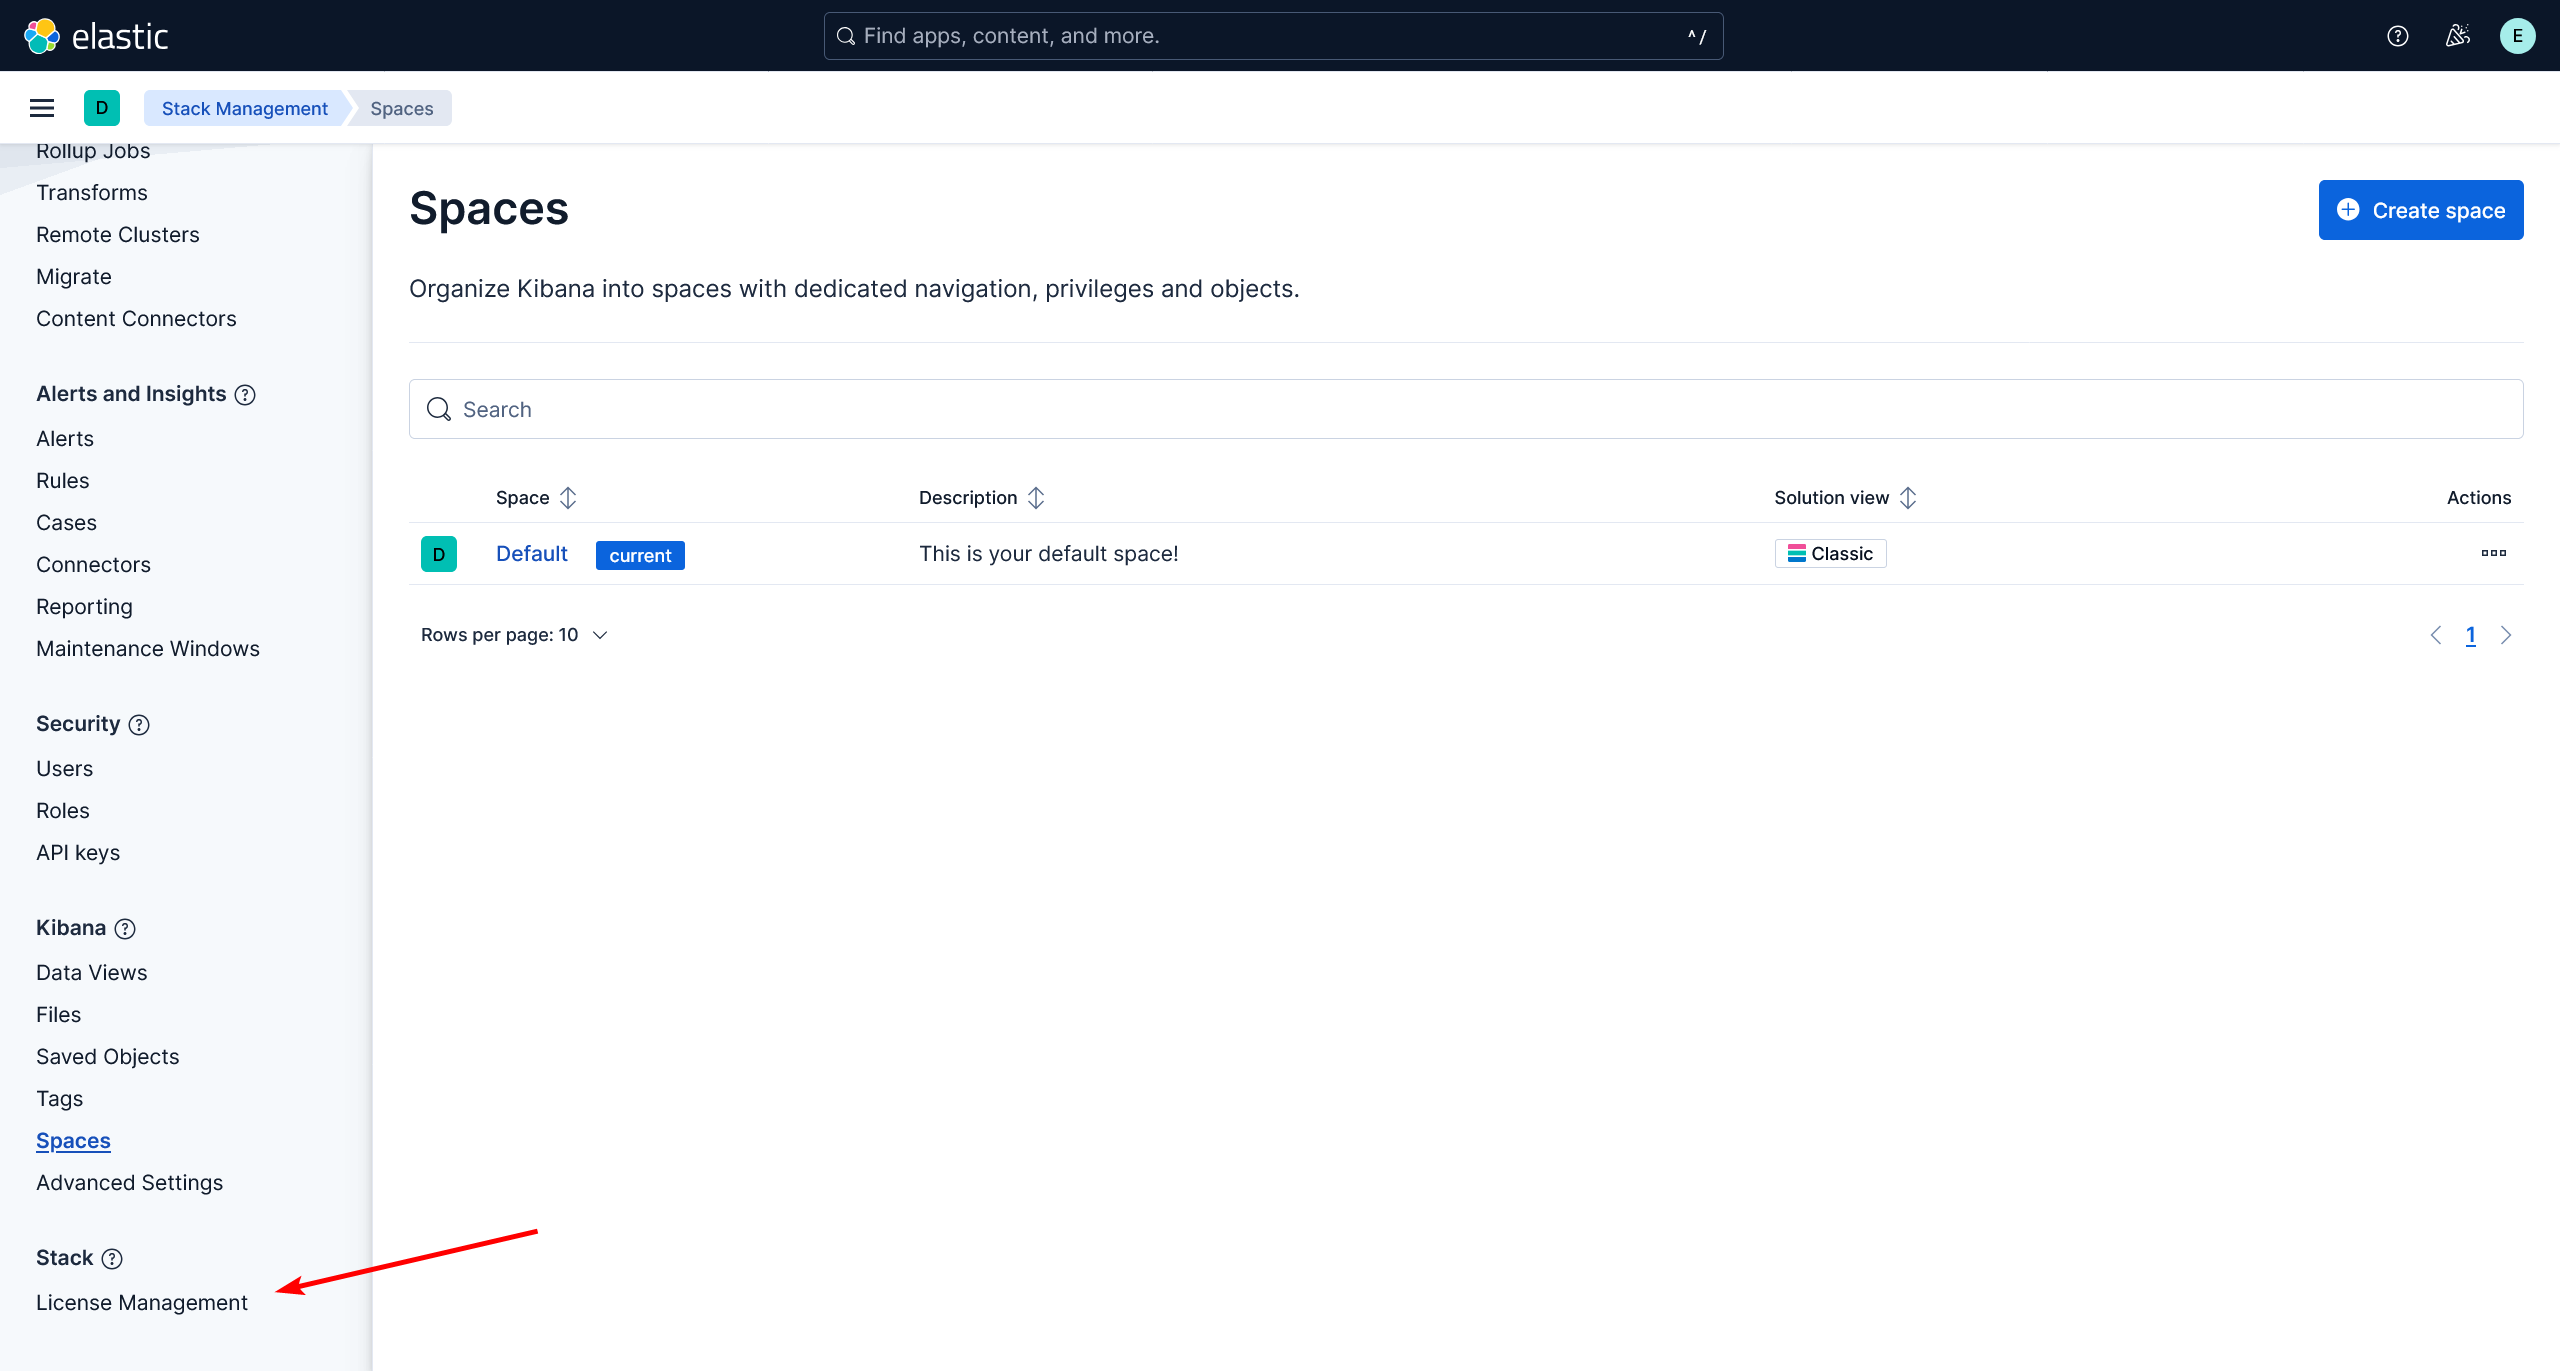
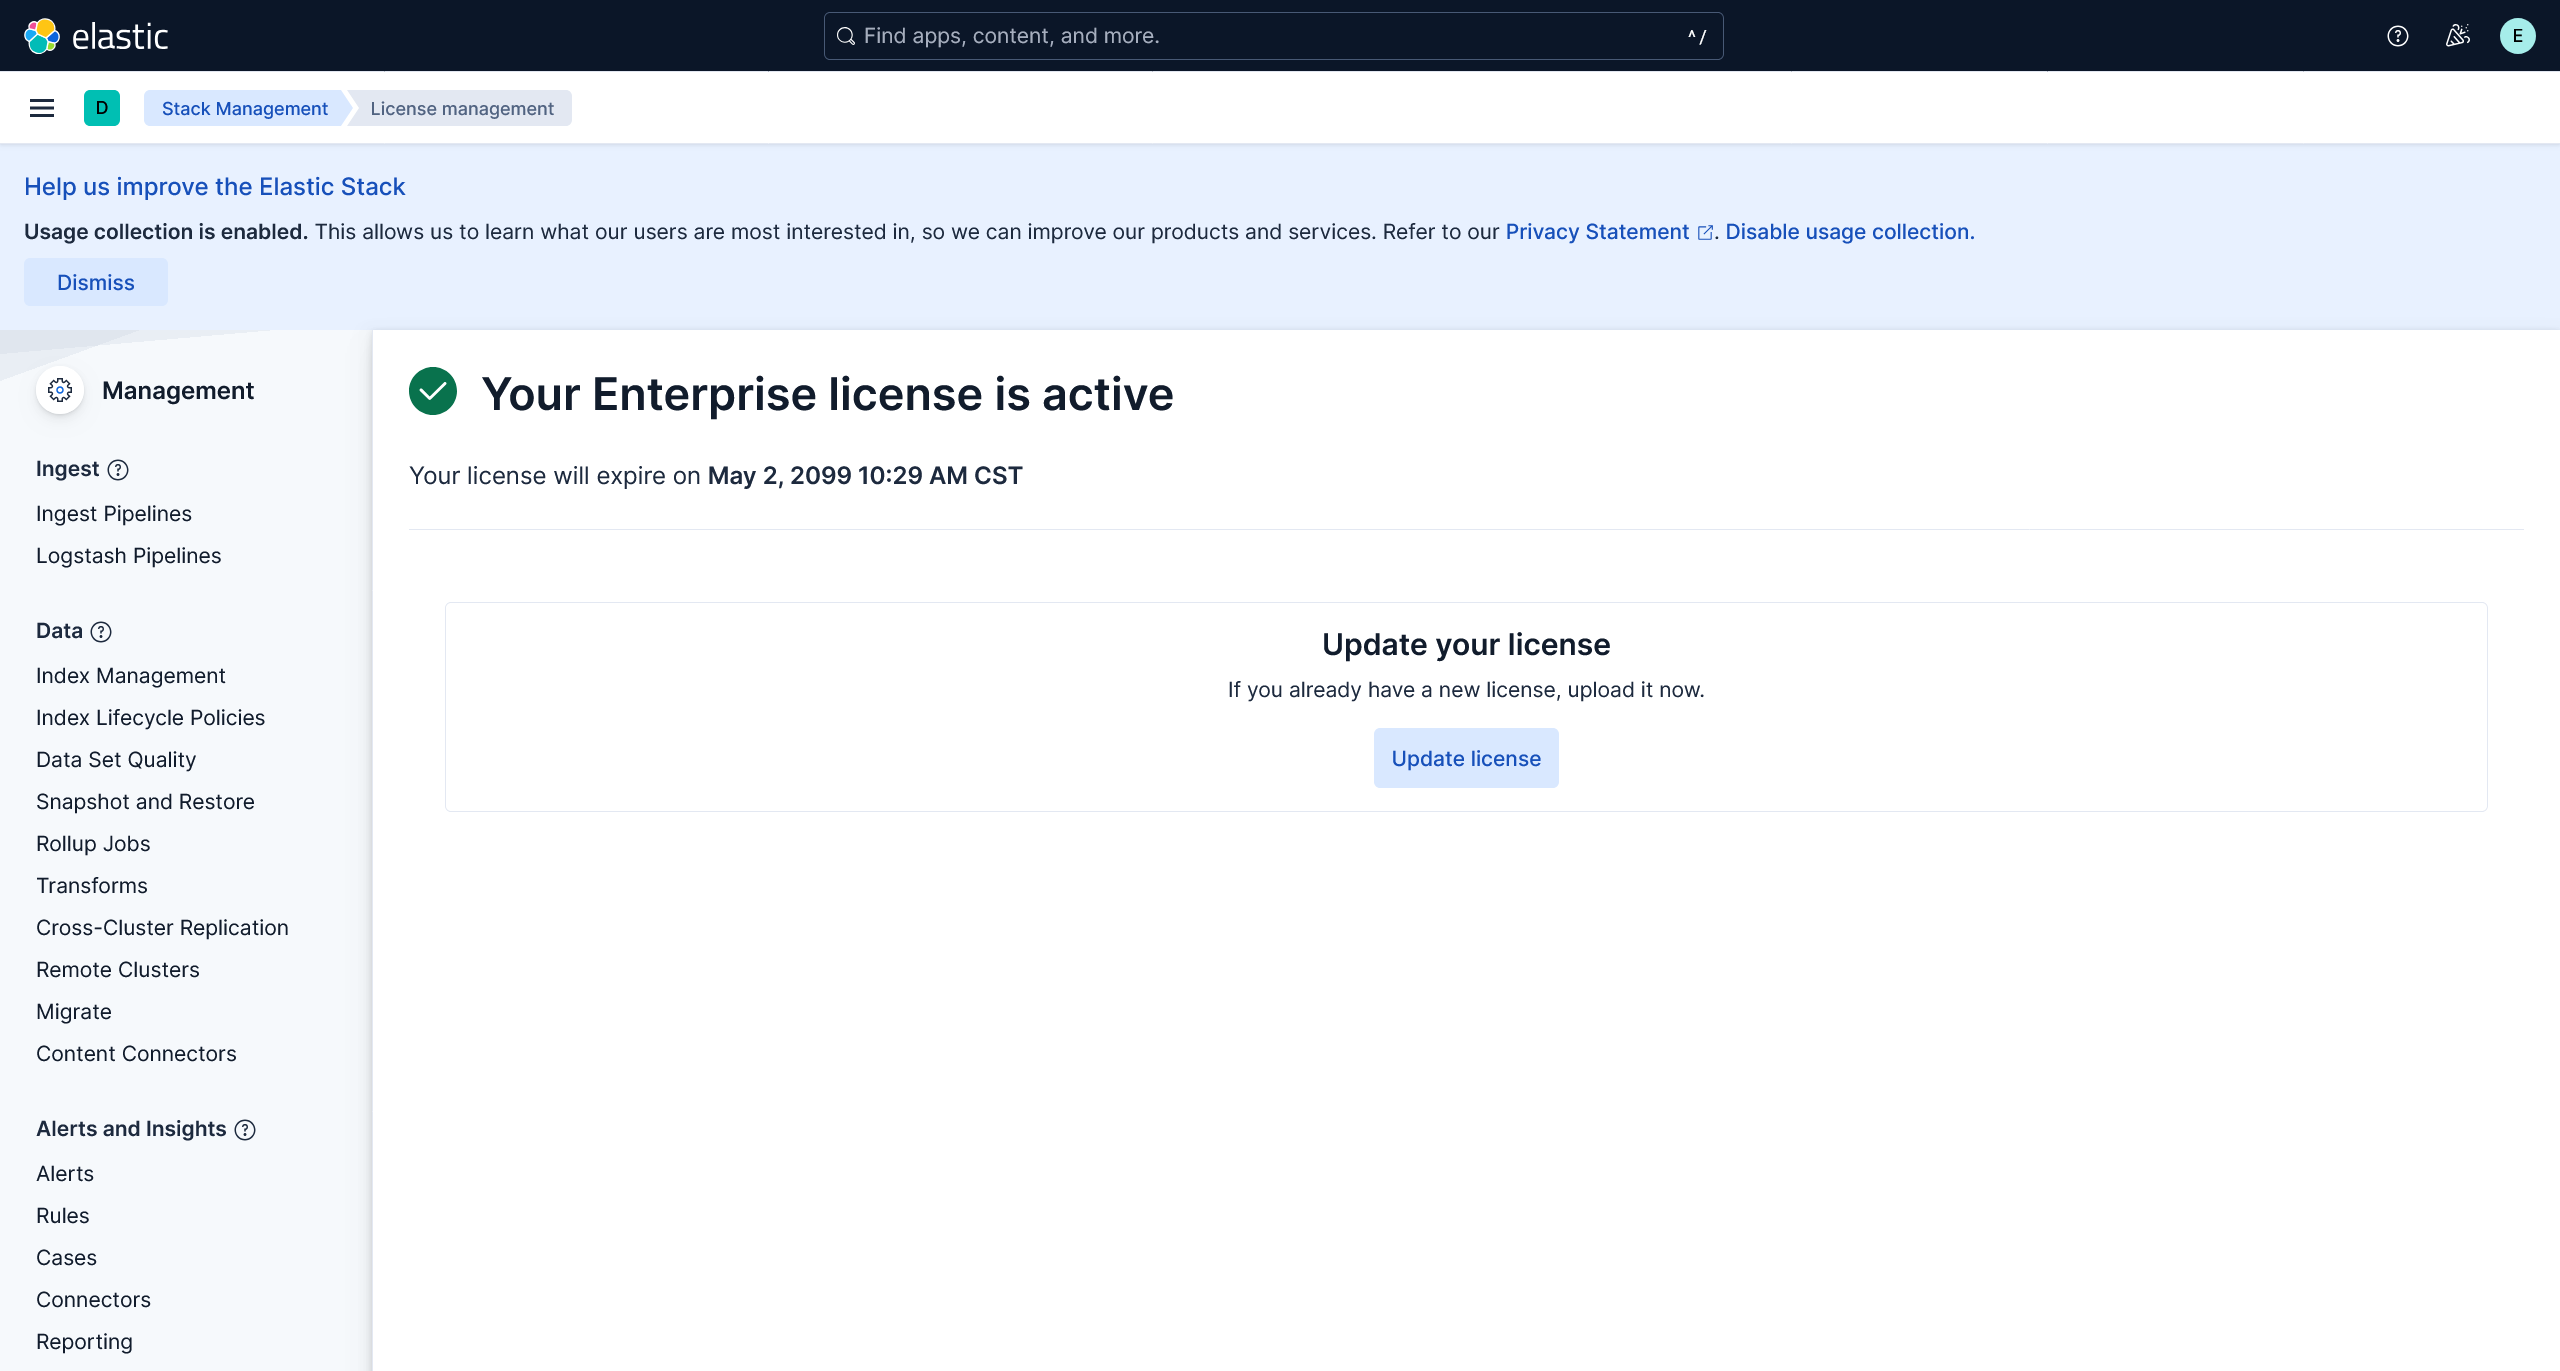
进入许可证管理
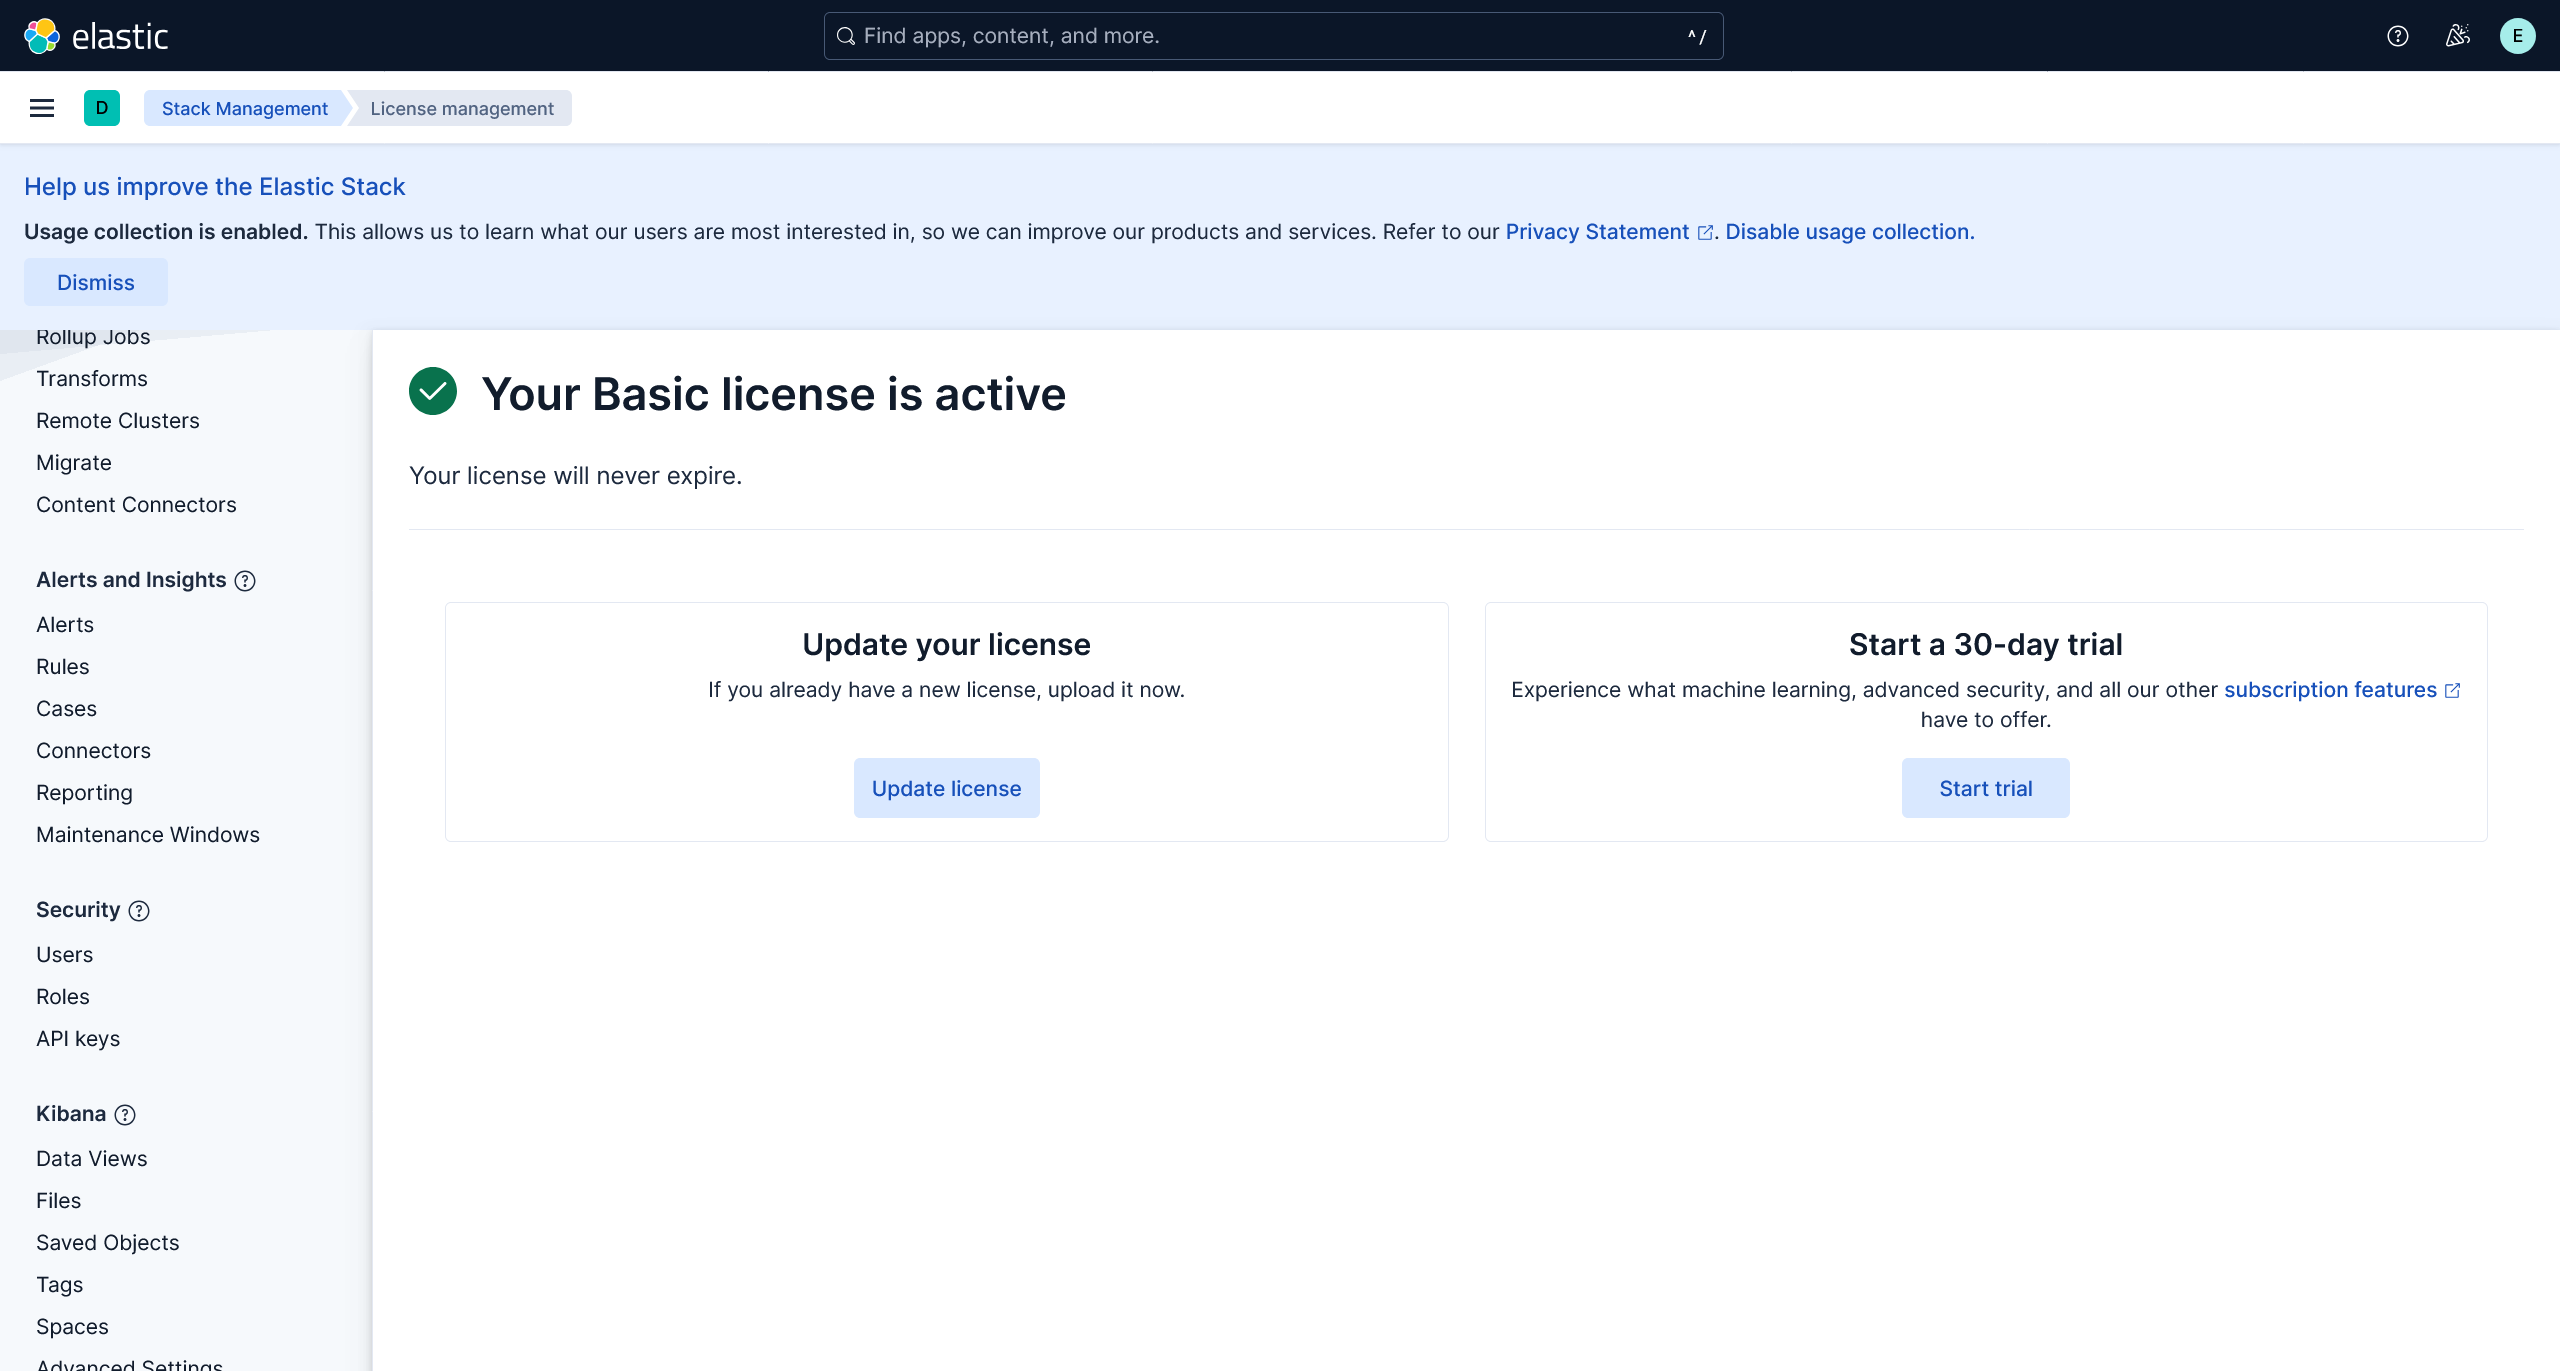
在 Update your license 选项中,上传在 Qwermit/ELKrack: Elasticsearch crack 7.X-9.X 项目的 licenses 文件夹中的许可文件,两个都可以,但是更建议使用 platinum_license.json 以获得完整 Elastic 能力
操作没有问题的话,上传之后应该能够看到
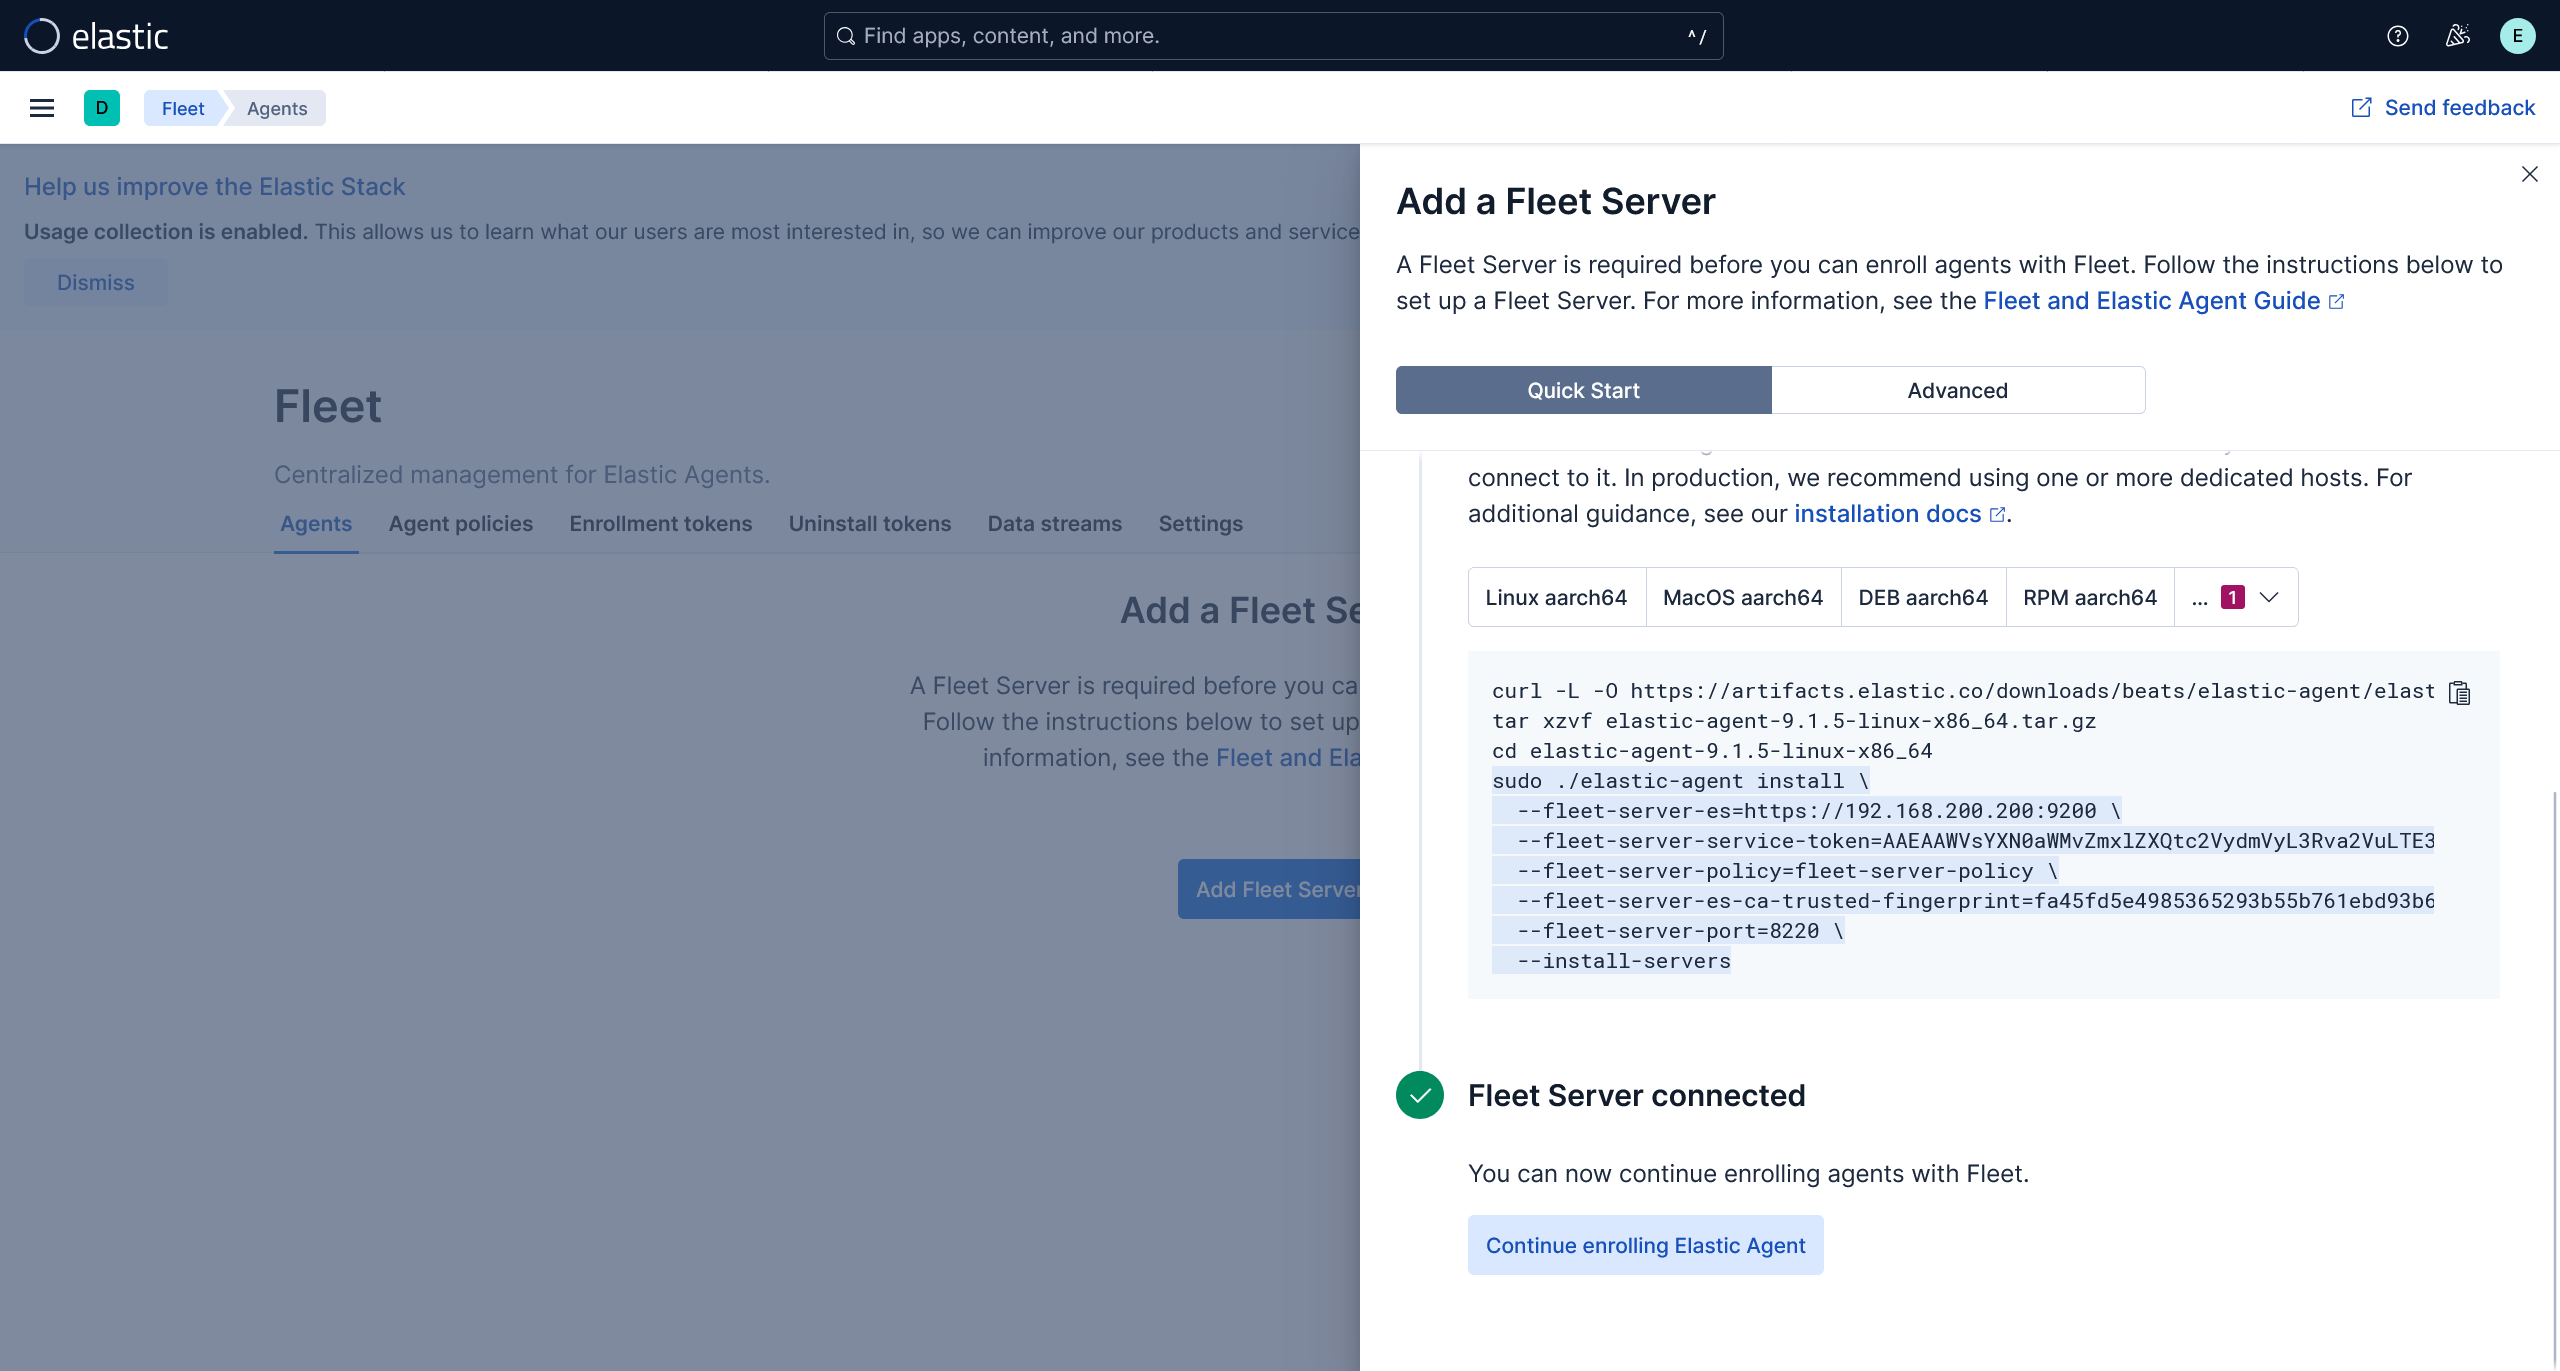
部署 Fleet 服务器
如果需要部署 Elastic Agent 与端点进行通信的话,需要使用 Fleet 进行统一管理与通信
访问侧边栏的 Fleet 选项
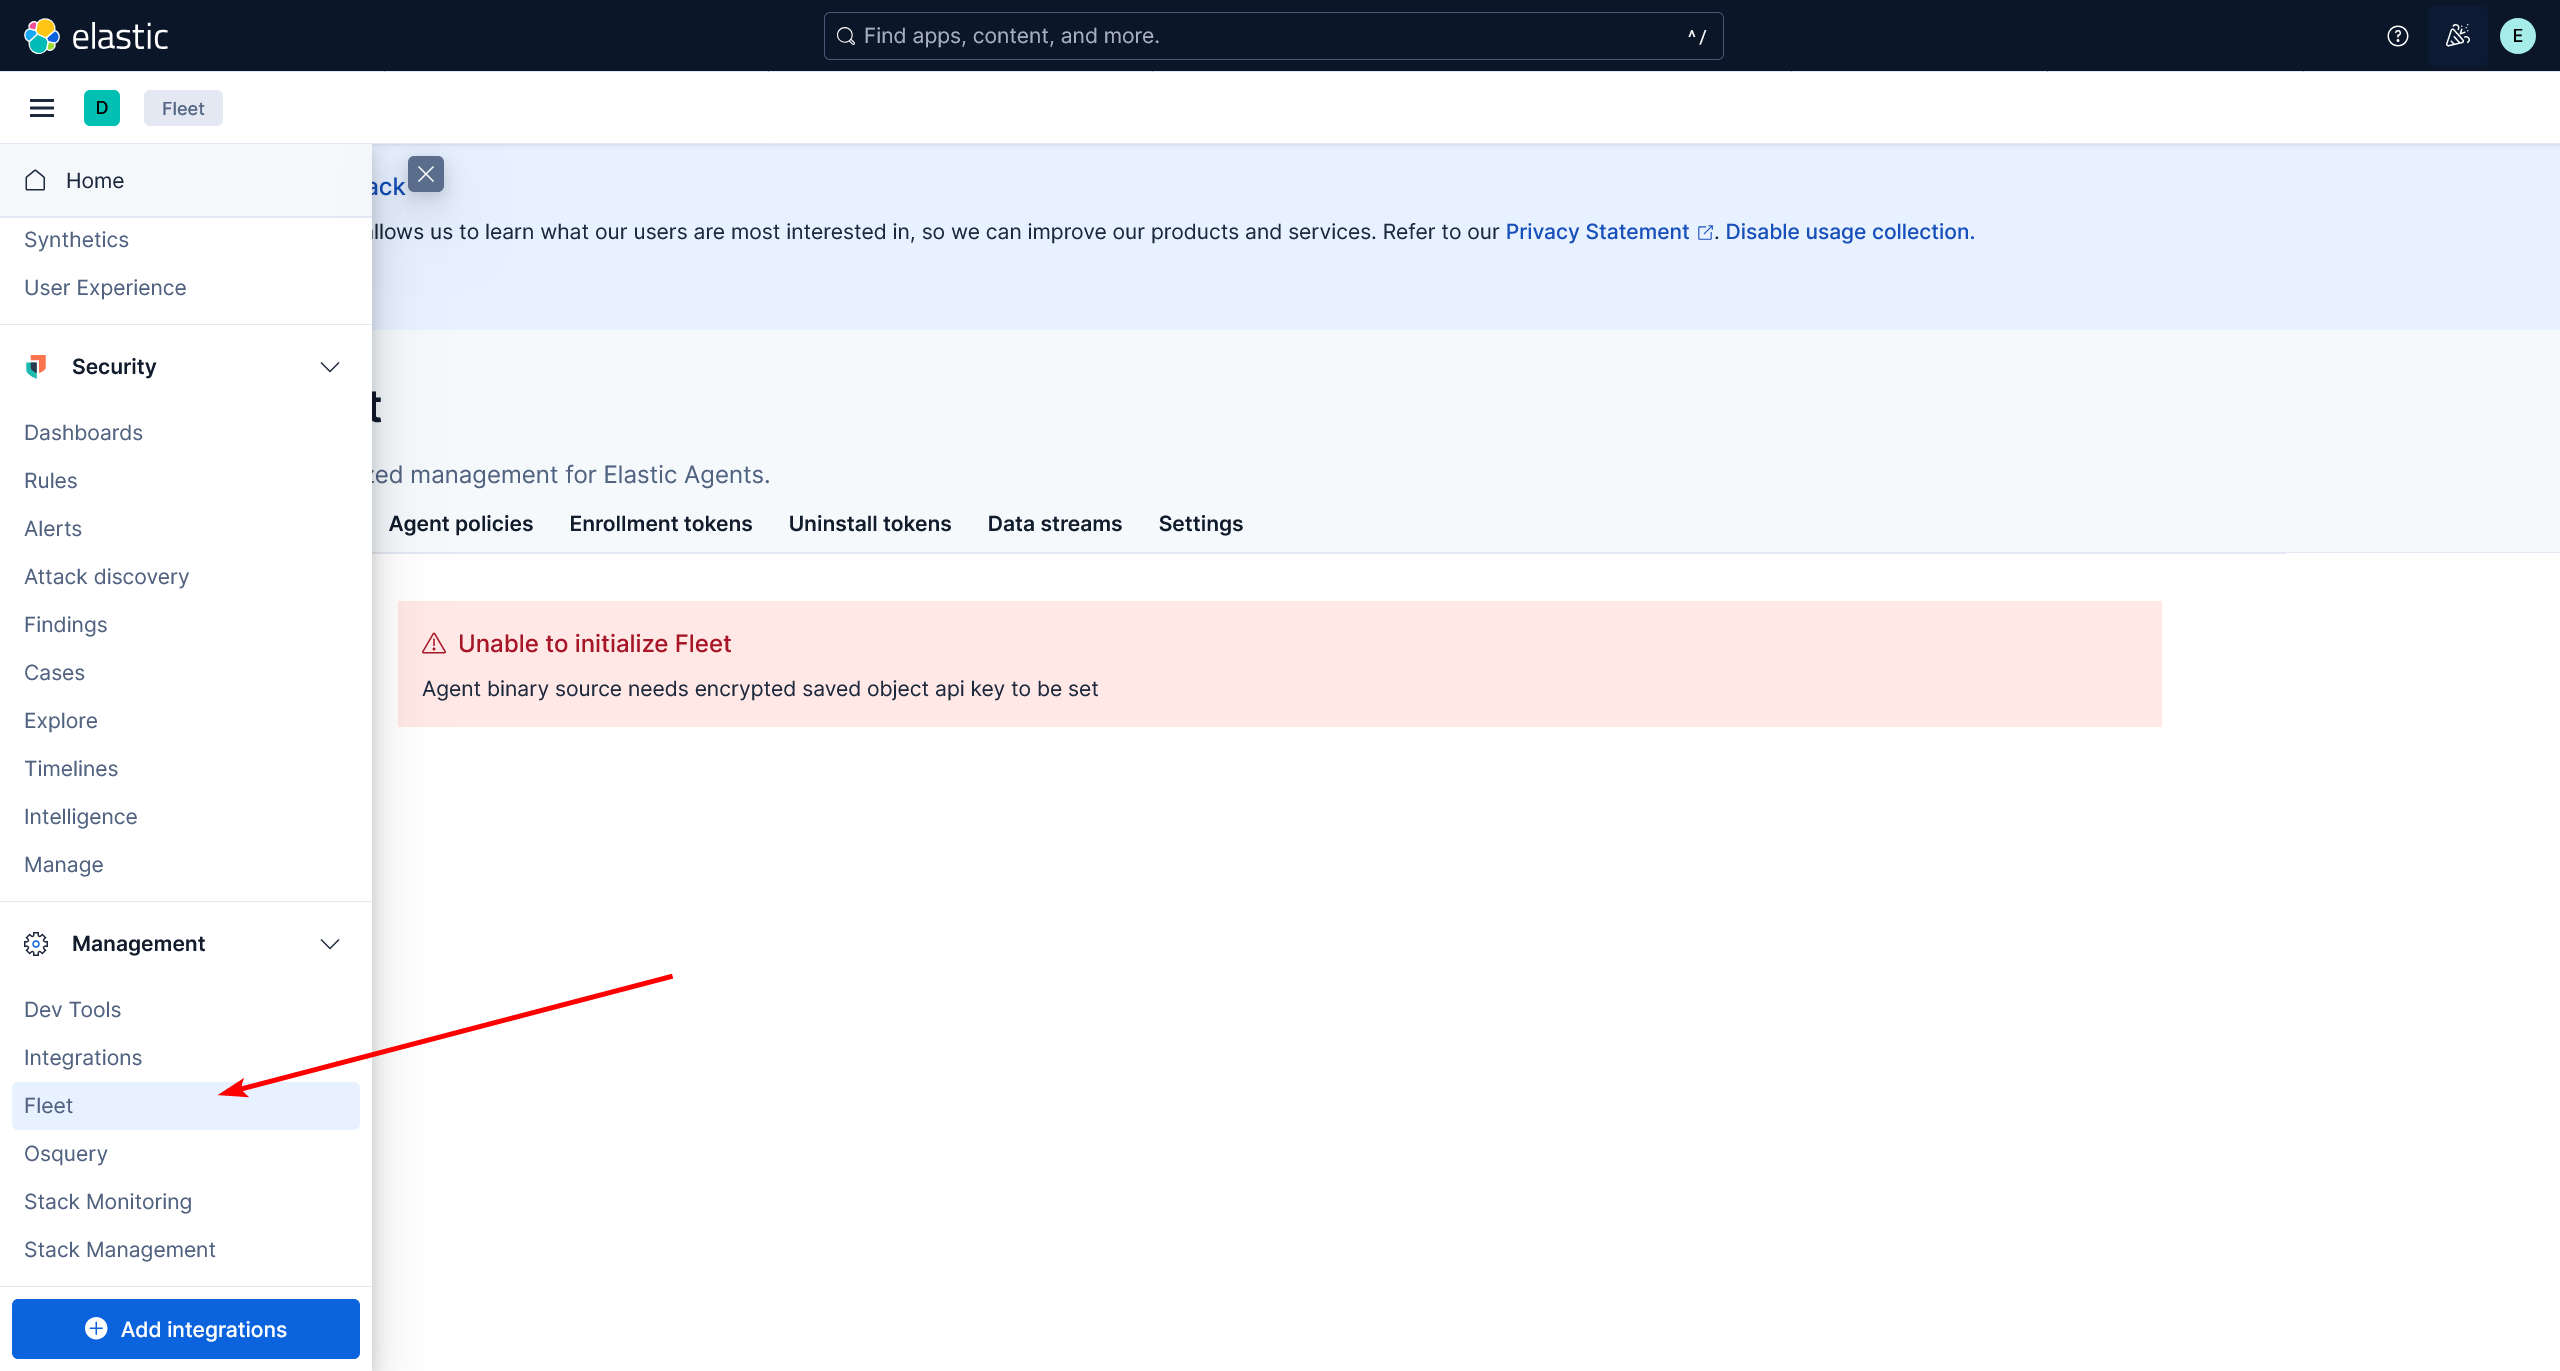
正常情况下,会看到
Agent binary source needs encrypted saved object api key to be set
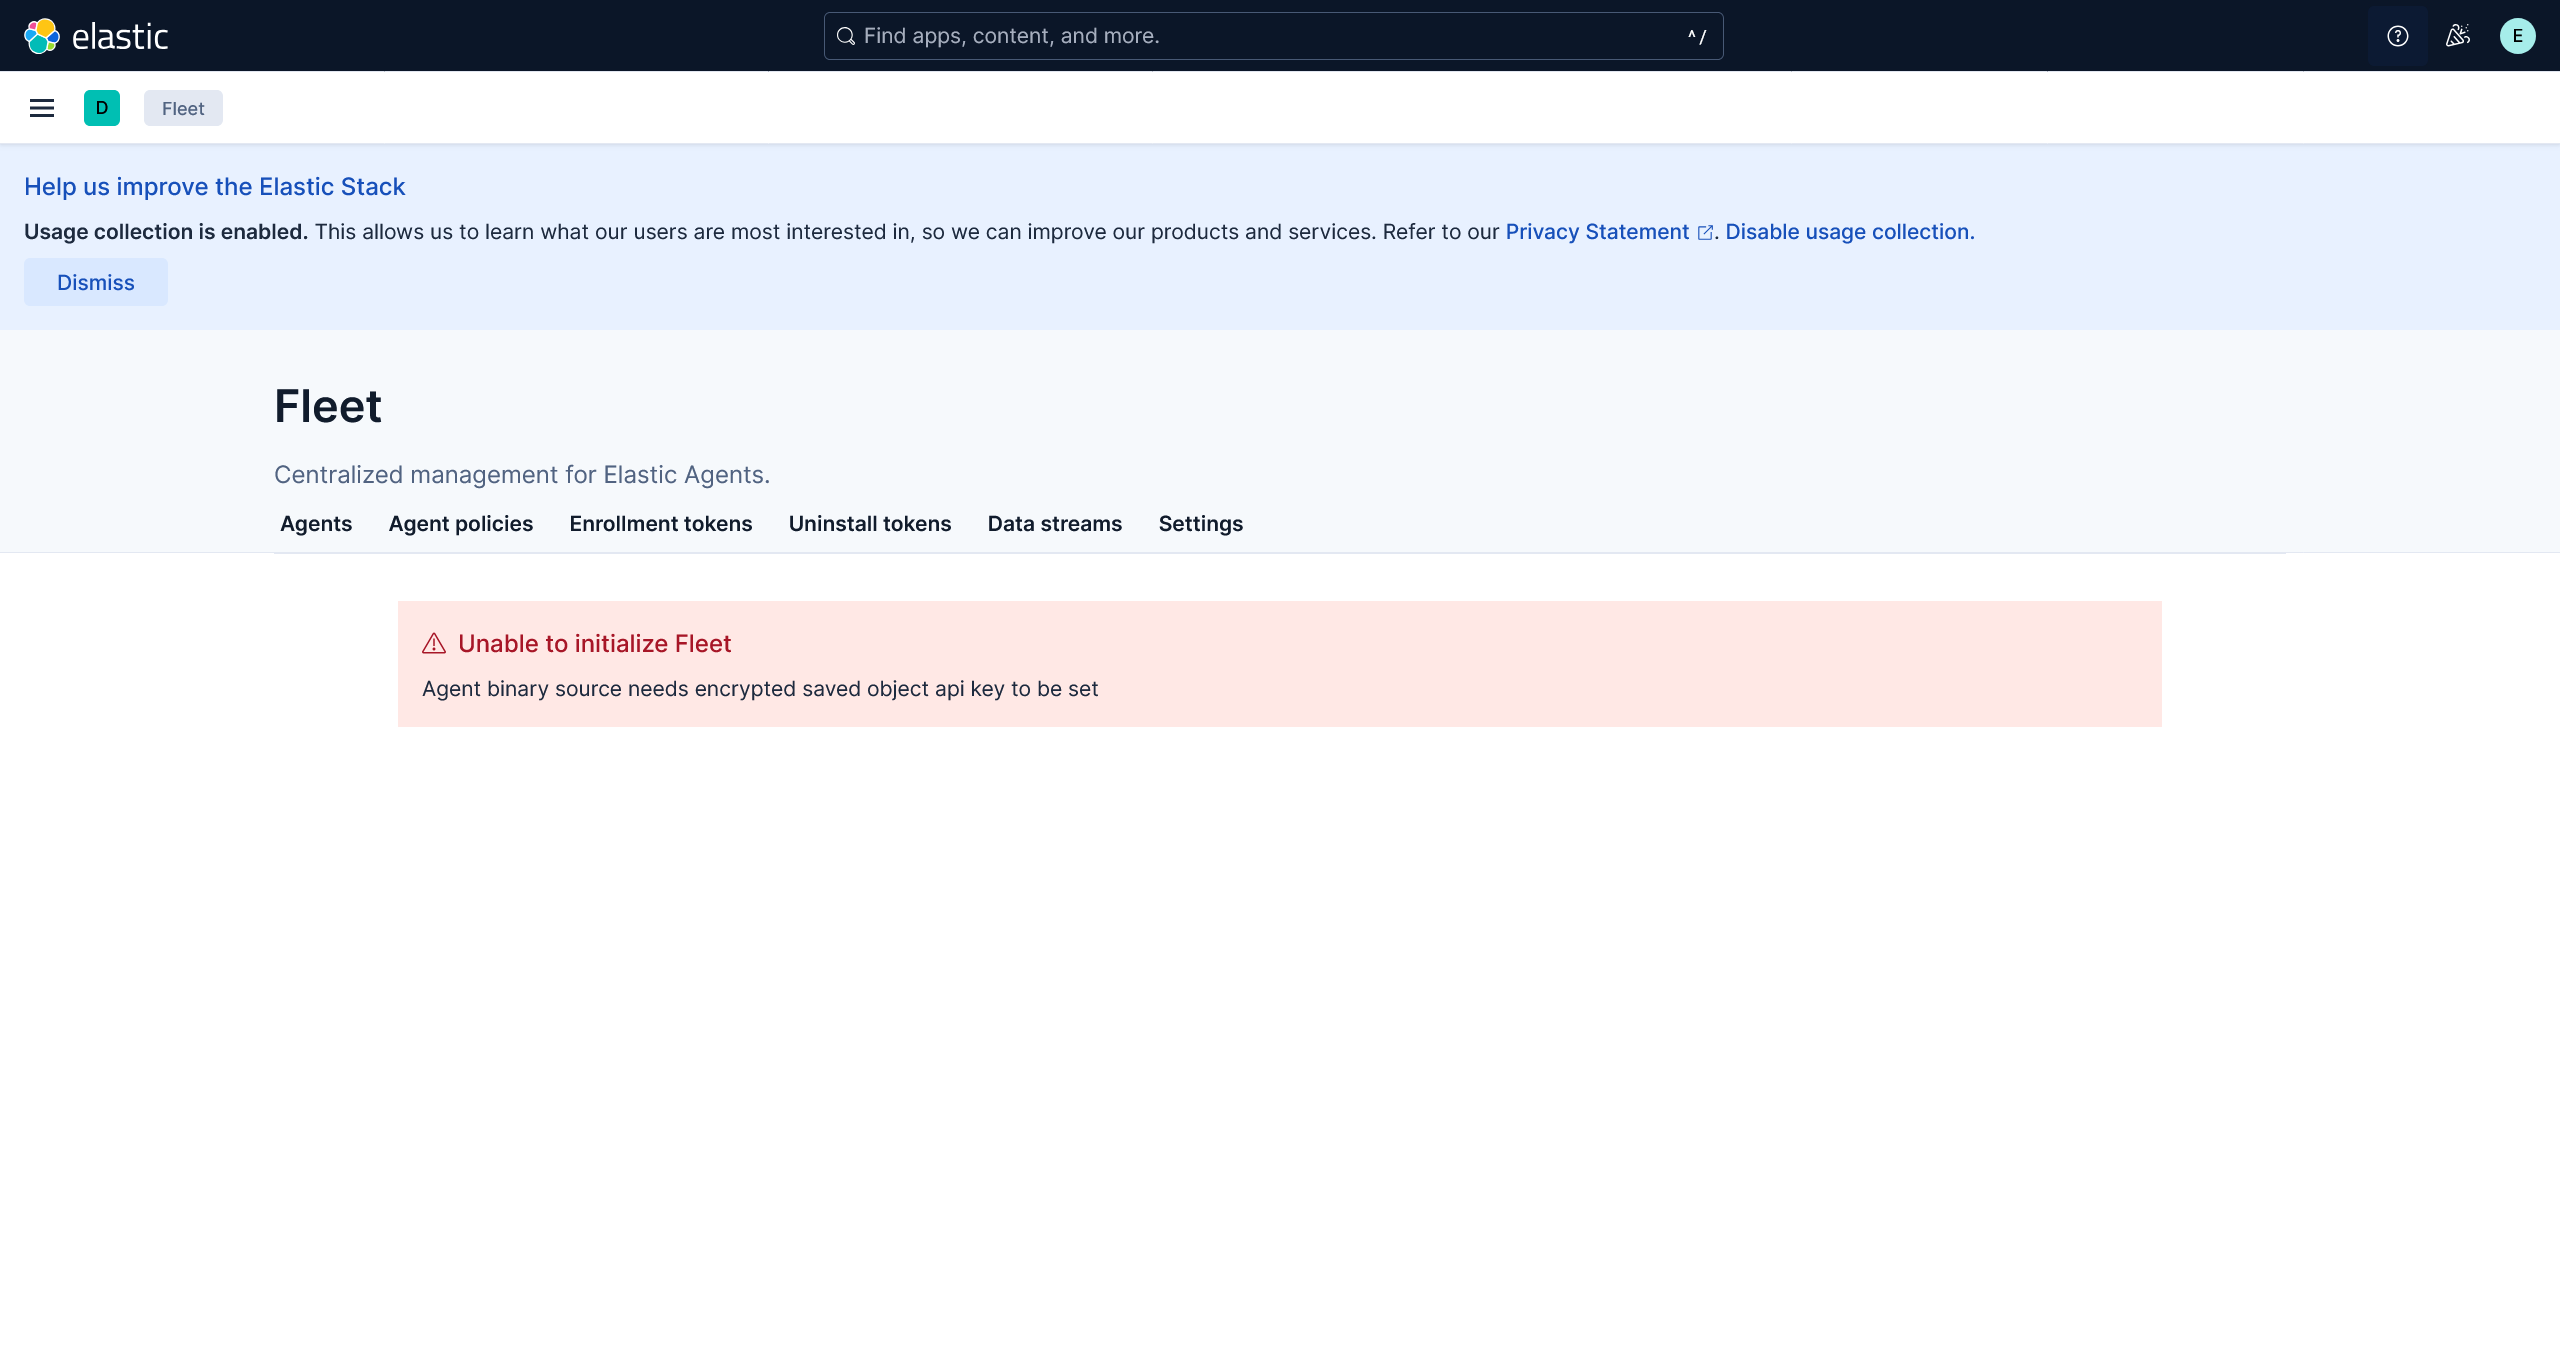
这个时候需要从命令行中生成 encrypted saved object api key
sudo /usr/share/kibana/bin/kibana-encryption-keys generate
理想情况下,能够看到
randark@elastic-server:~$ sudo /usr/share/kibana/bin/kibana-encryption-keys generate
## Kibana Encryption Key Generation Utility

The 'generate' command guides you through the process of setting encryption keys for:

xpack.encryptedSavedObjects.encryptionKey
    Used to encrypt stored objects such as dashboards and visualizations
    https://www.elastic.co/guide/en/kibana/current/xpack-security-secure-saved-objects.html#xpack-security-secure-saved-objects

xpack.reporting.encryptionKey
    Used to encrypt saved reports
    https://www.elastic.co/guide/en/kibana/current/reporting-settings-kb.html#general-reporting-settings

xpack.security.encryptionKey
    Used to encrypt session information
    https://www.elastic.co/guide/en/kibana/current/security-settings-kb.html#security-session-and-cookie-settings


Already defined settings are ignored and can be regenerated using the --force flag.  Check the documentation links for instructions on how to rotate encryption keys.
Definitions should be set in the kibana.yml used configure Kibana.

Settings:
xpack.encryptedSavedObjects.encryptionKey: 23a8bab7d7b2bf66385ac8b4301b48cf
xpack.reporting.encryptionKey: d75d9b71d5e3fa7822c96ffe3d7d8315
xpack.security.encryptionKey: 879e92fcfa0782faa40fb0c10f4d7c82
将下方三行配置参数复制到 /etc/kibana/kibana.yml 文件的末尾
然后重启 Kibana 服务
sudo systemctl restart kibana.service
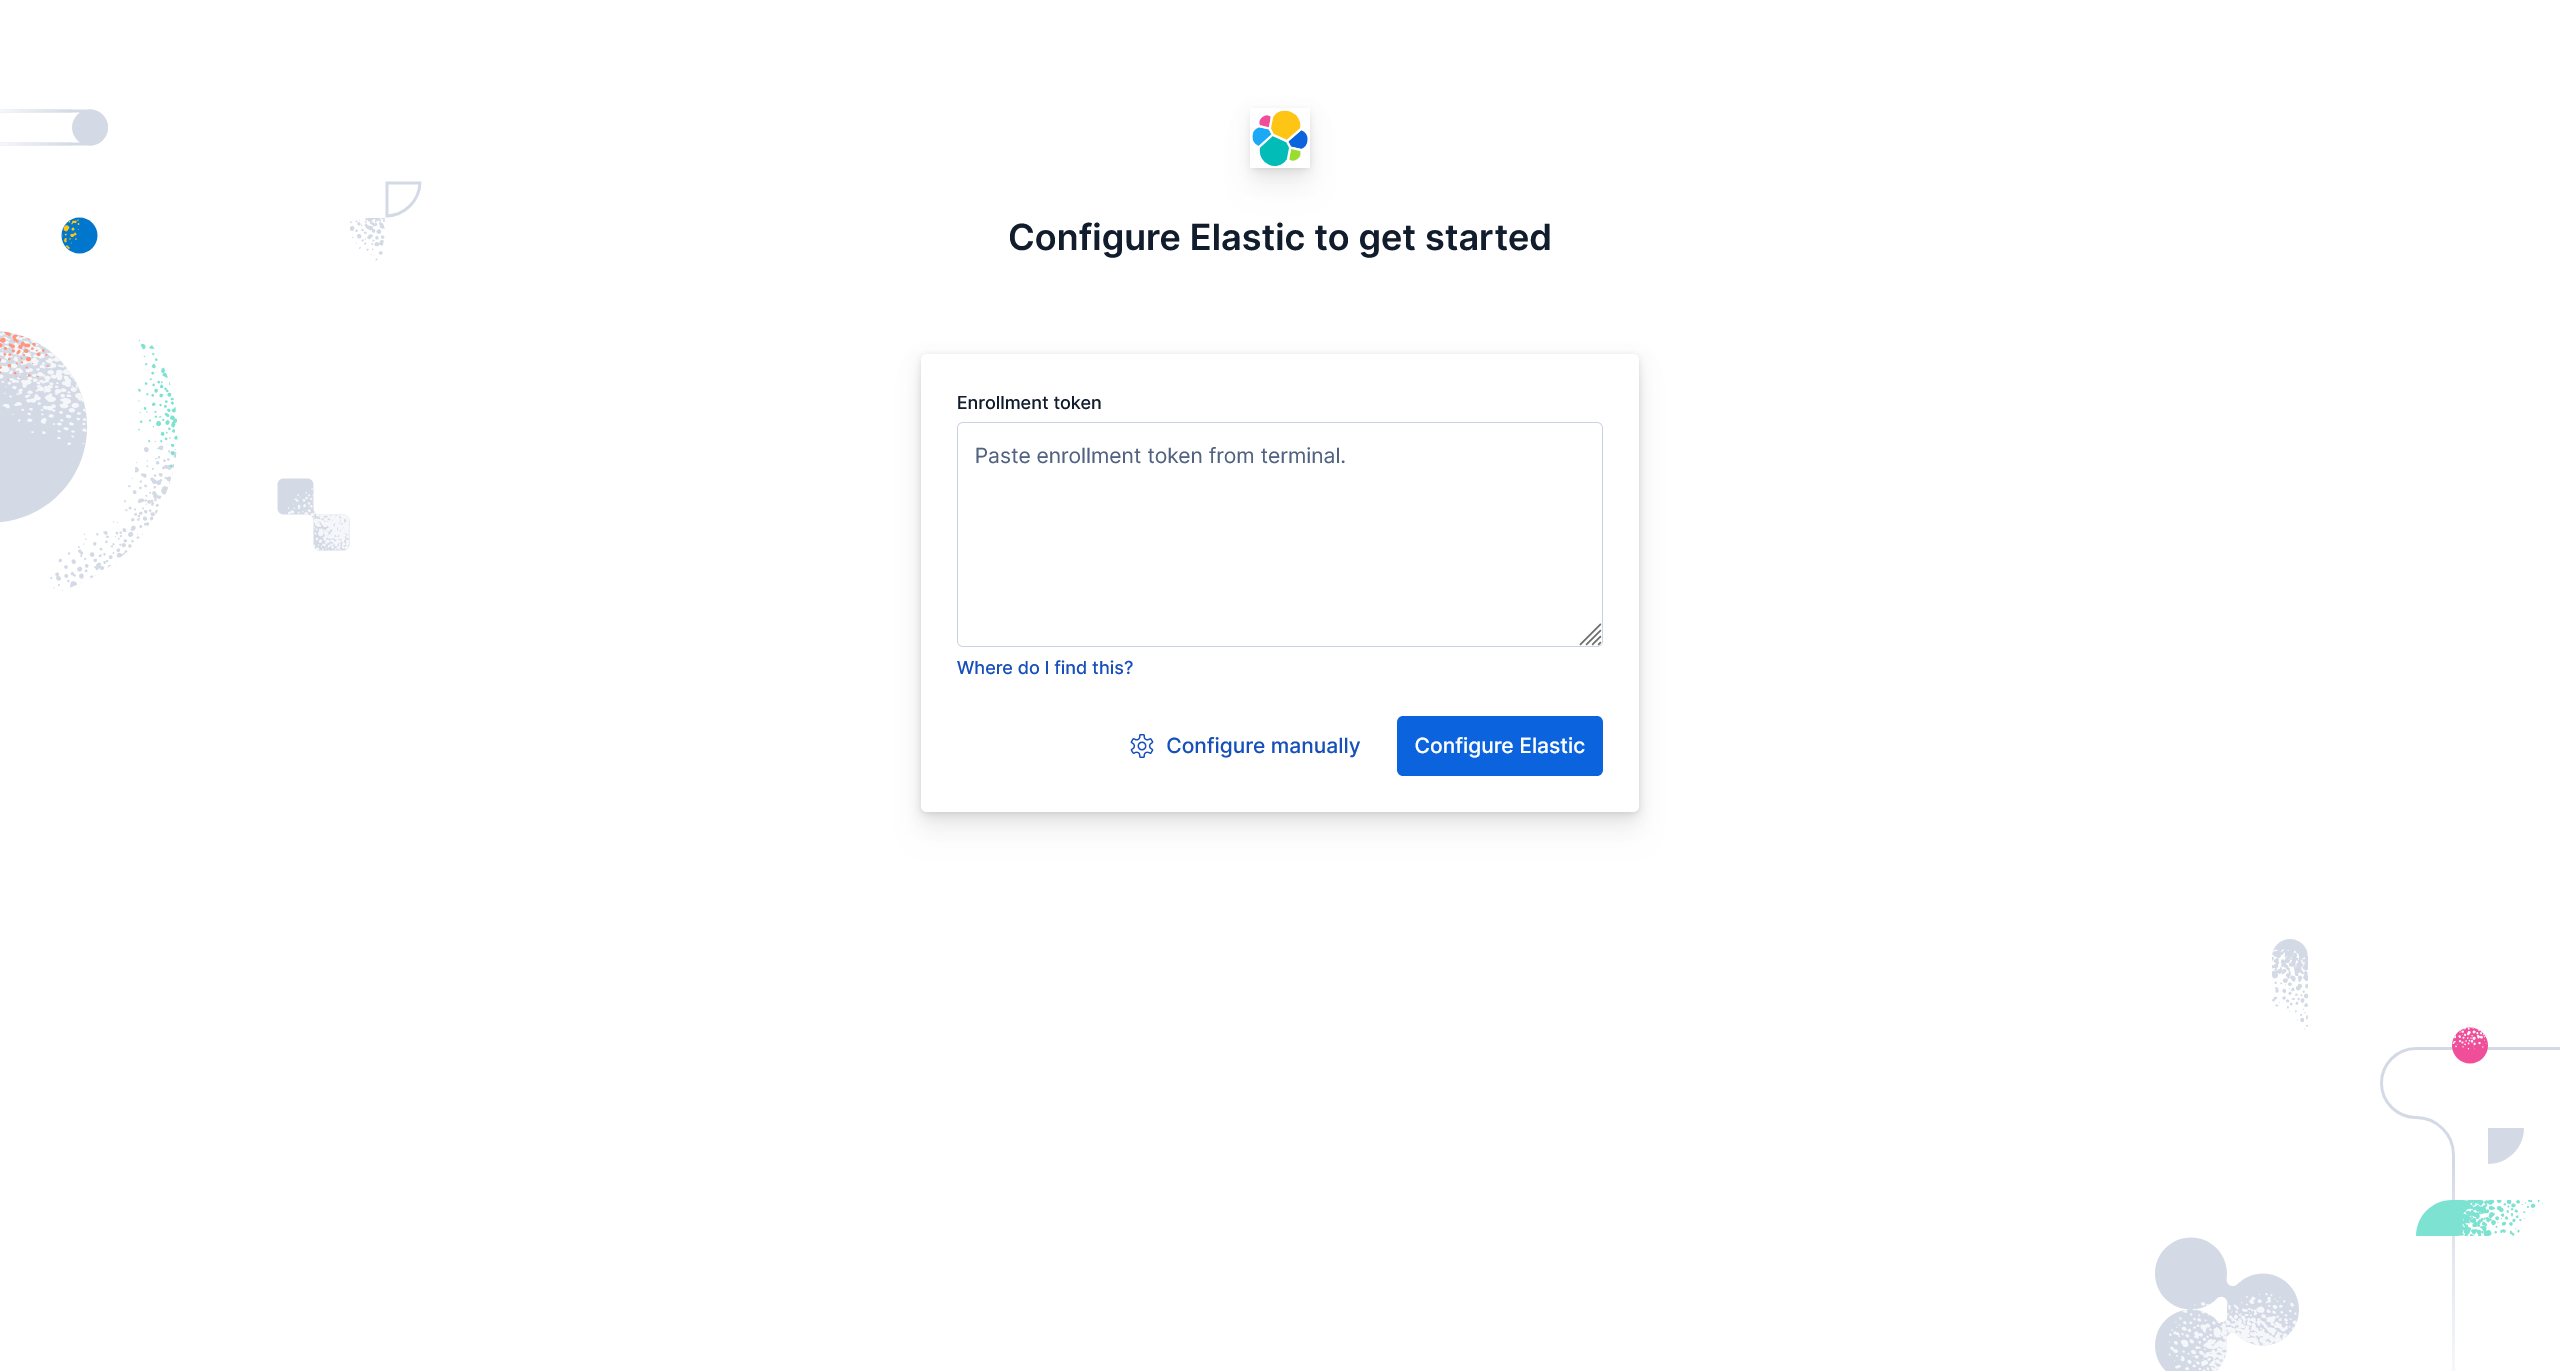
随后就可以正常部署 Fleet 服务器
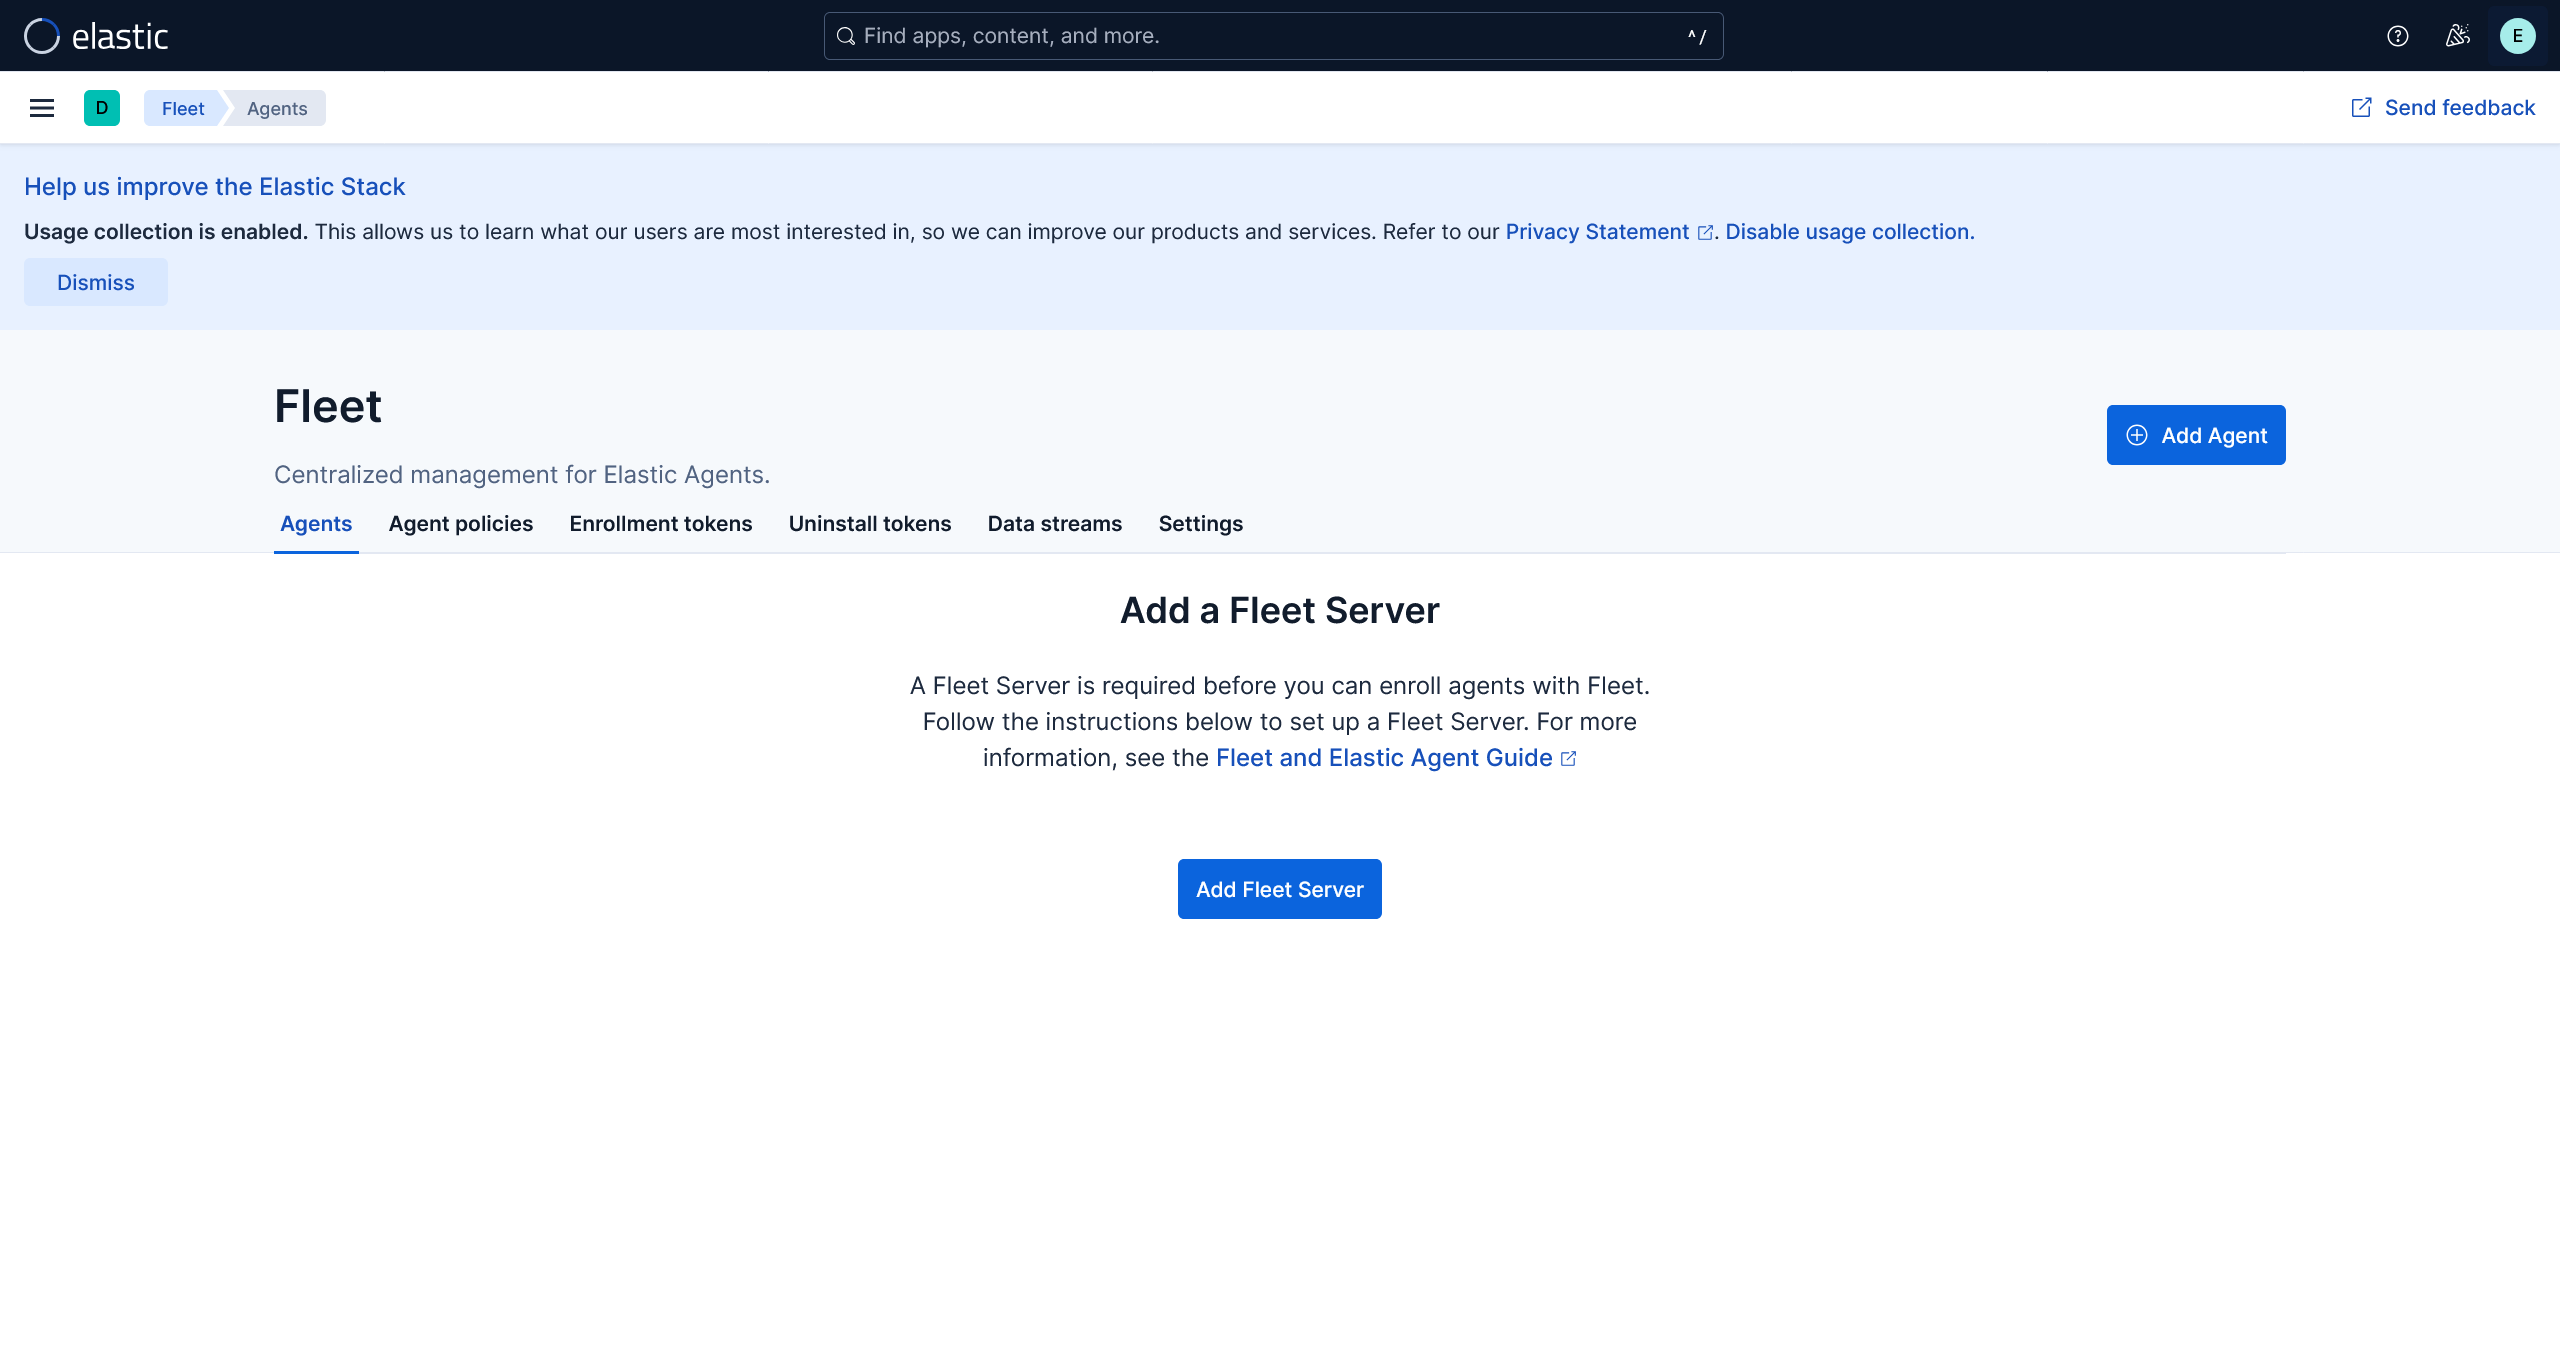
由于是单机测试服务,所以直接将 FLeet 与 Elasticsearch 和 Kibana 部署在同一台服务器上
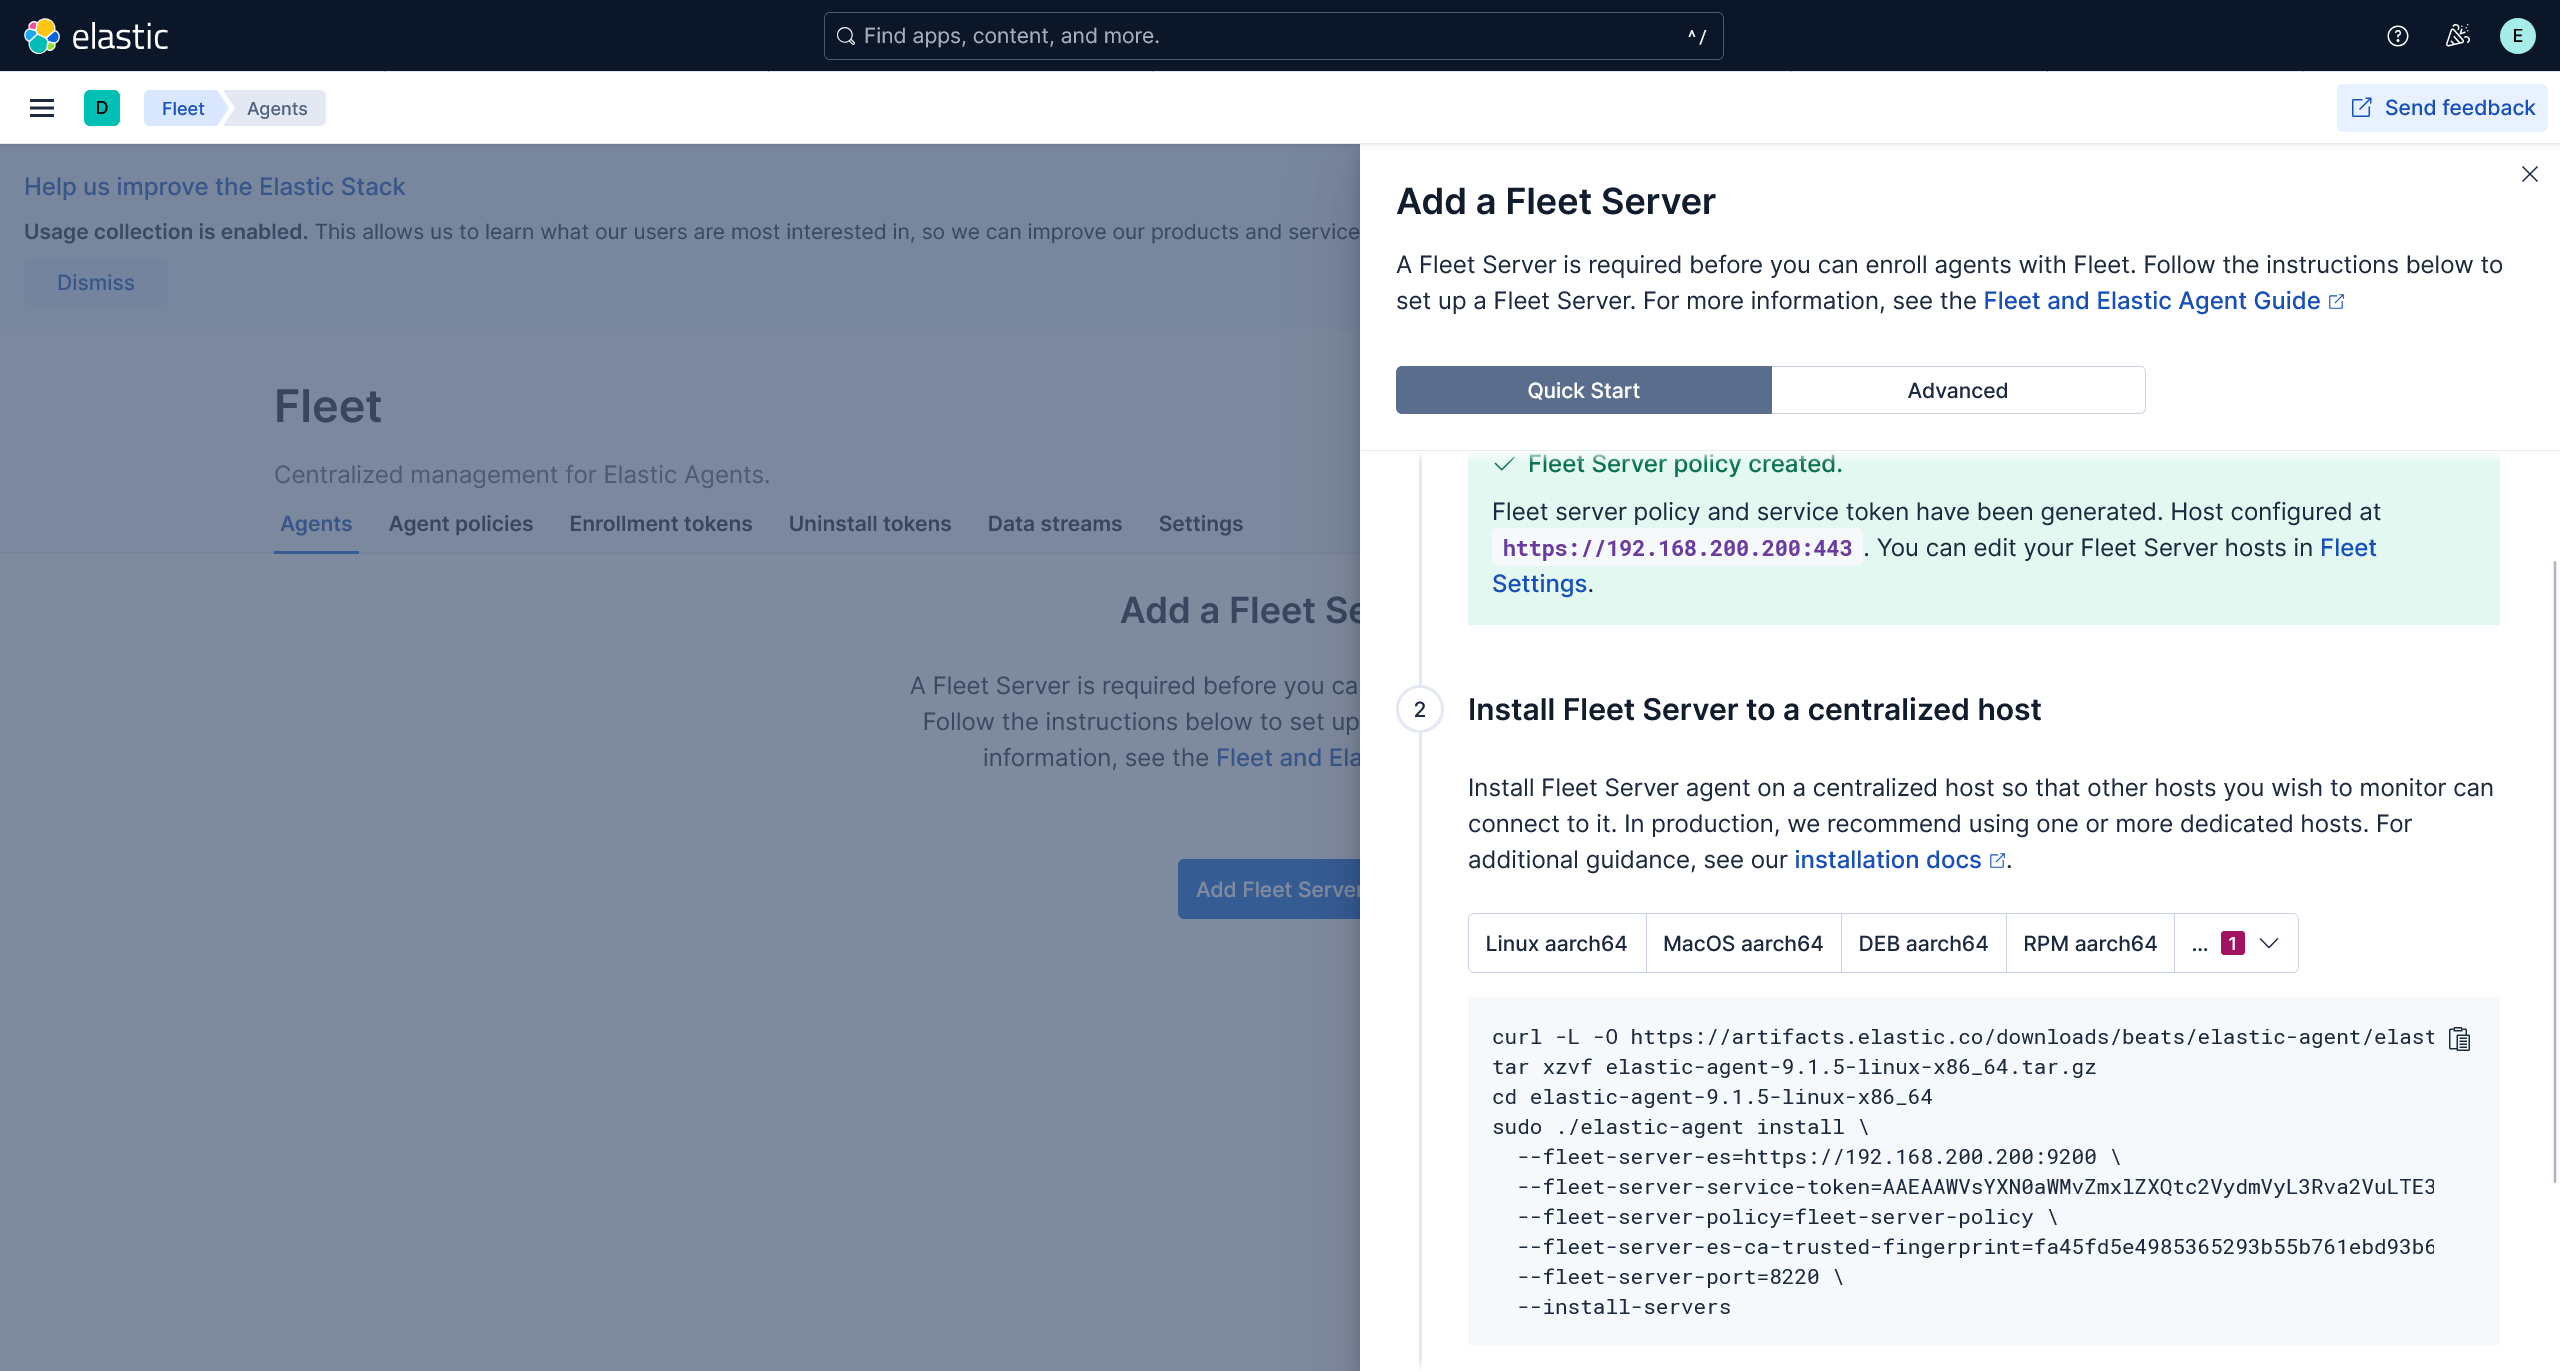
根据指引进行安装即可,成功的话应该能够看到
至此,Elastic SIEM 基础设施部署完毕